

We will use Bean & Brew Coffee as our example throughout this guide, but follow along with your own business information for the best results.
Step 1: Create Your Assistant
From your dashboard, click Assistants in the sidebar, then click Create Assistant.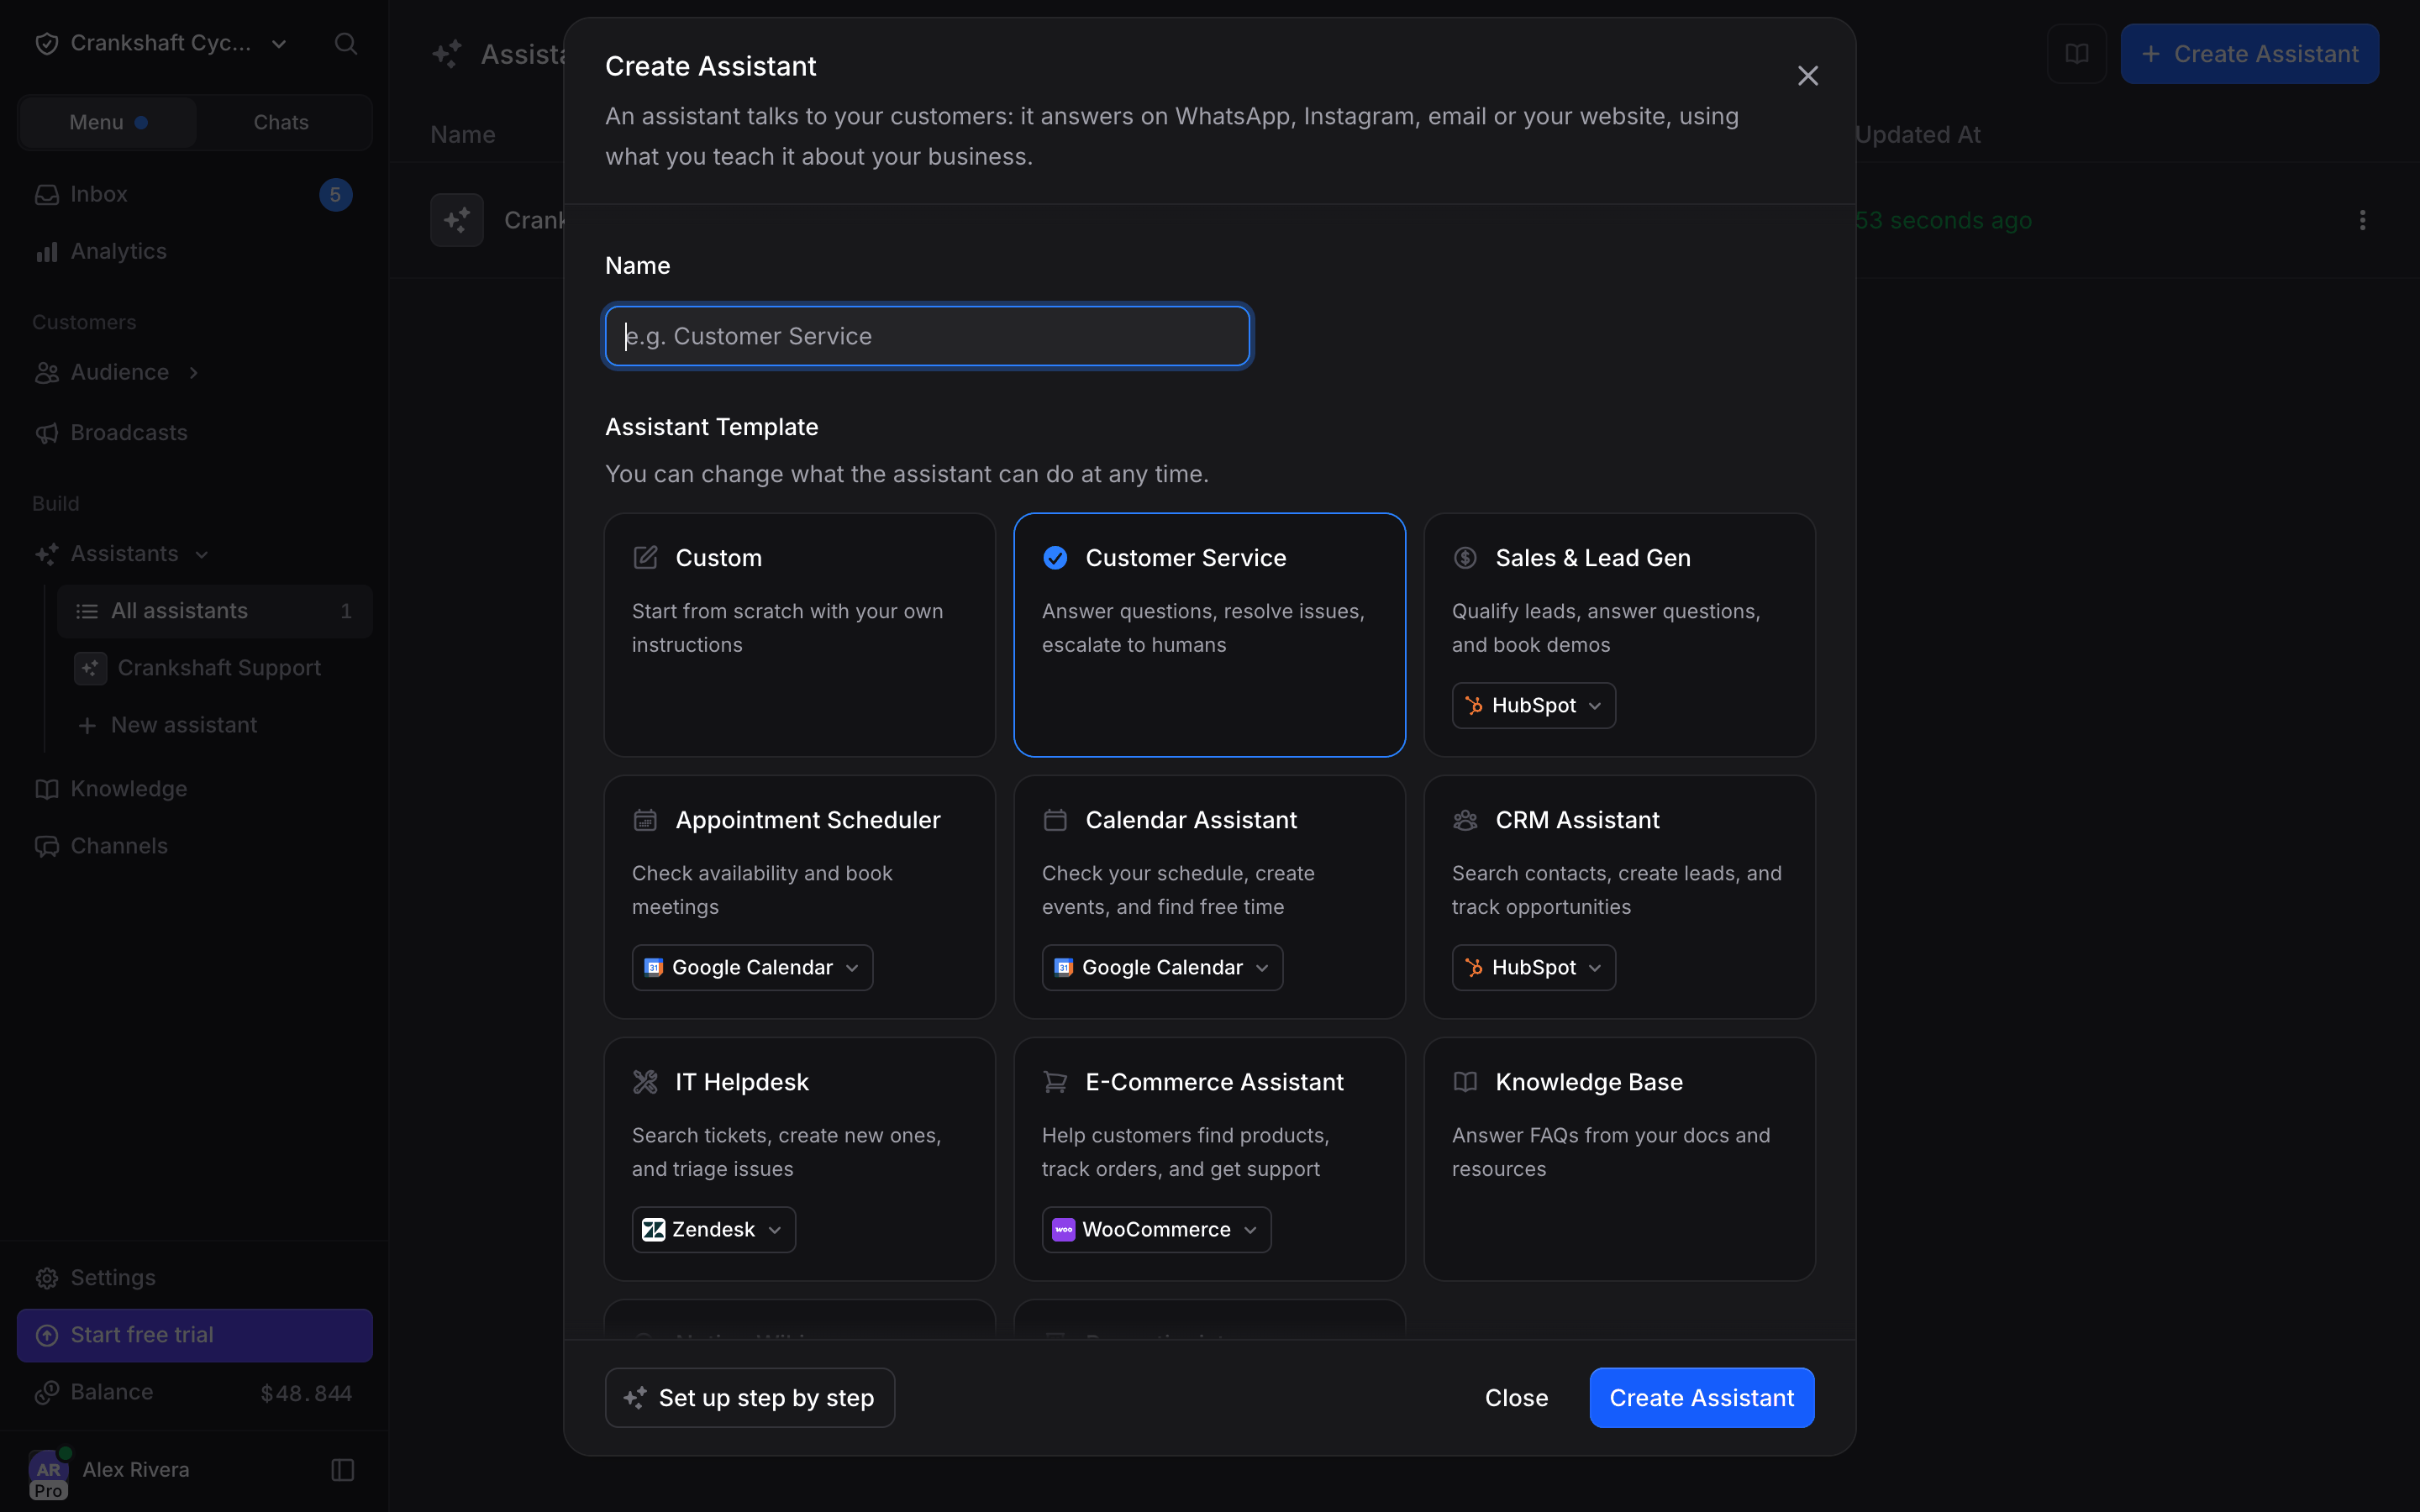
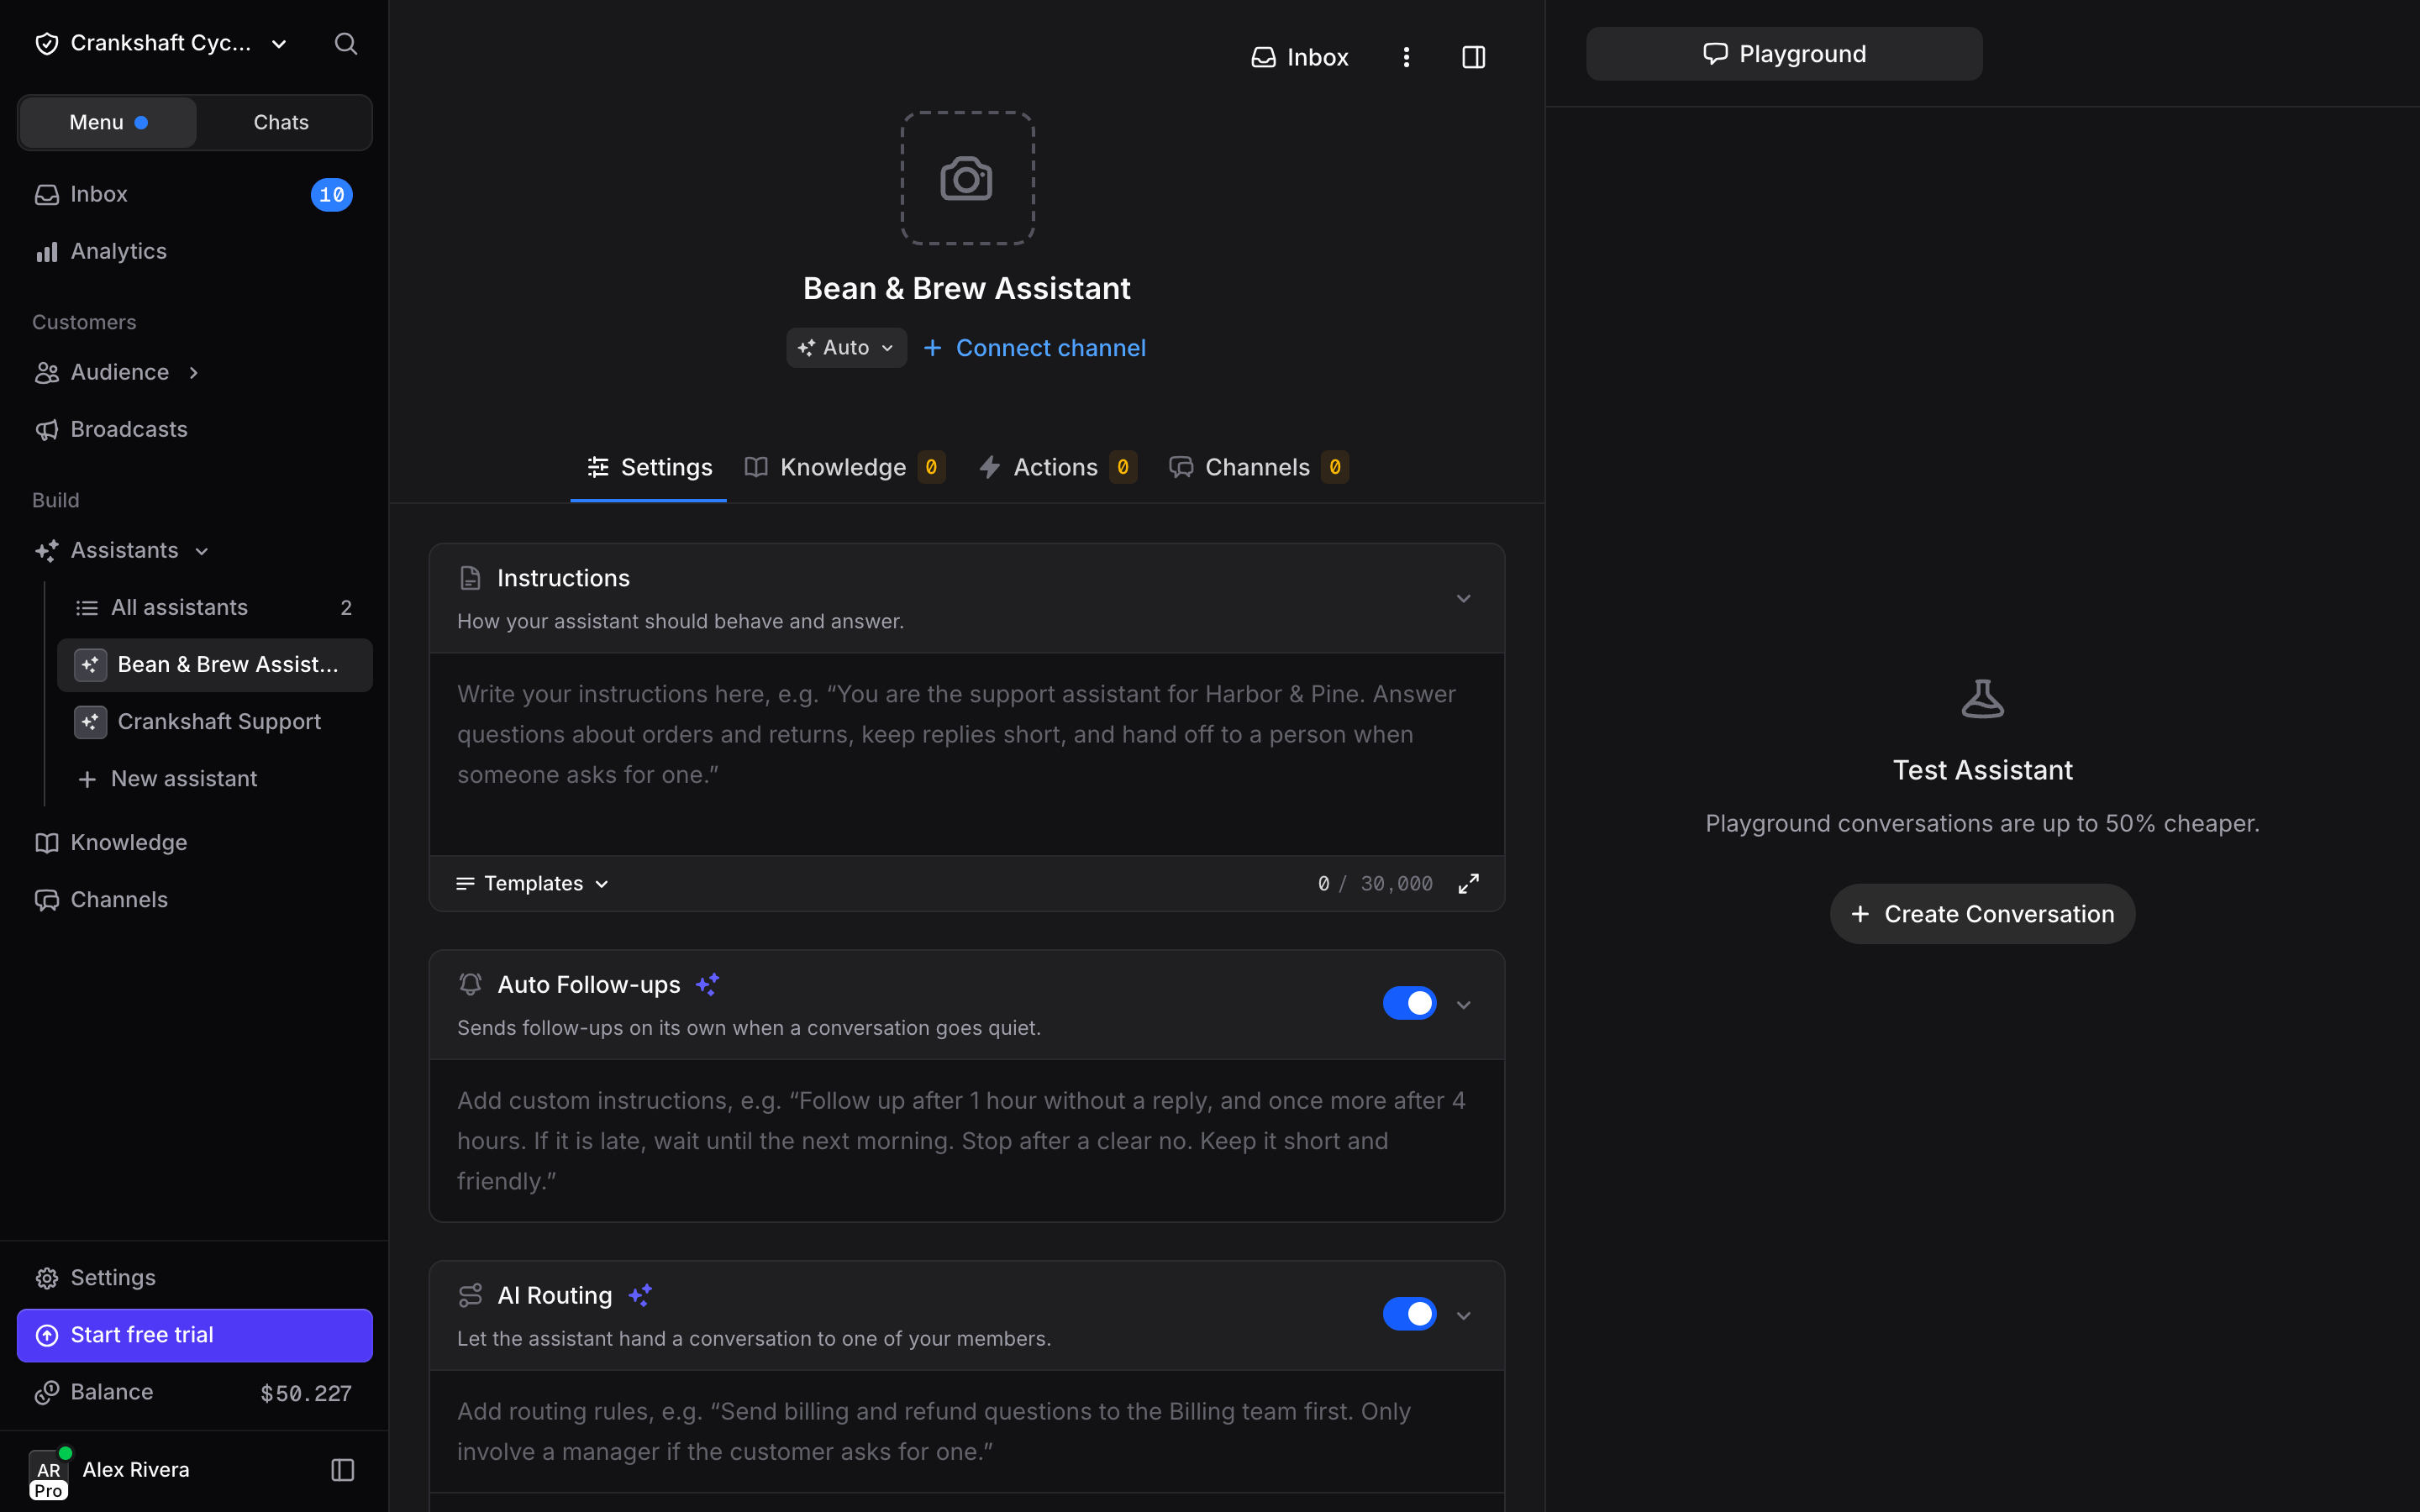
- Name: The name customers will see. Enter something that represents your business (e.g., “Bean & Brew Assistant”). If you leave it empty and click a template card, a default name fills it in
- Assistant Template: Customer Service is preselected. Pick Custom for now. Templates give you a head start for common use cases, but starting from scratch helps you understand how everything works
The setup wizard
Your first workspace opens on the setup wizard right after you create it. In an existing workspace, click Set up step by step in the Create Assistant dialog. The wizard has five steps. Skip setup on the first step creates the assistant from the selected template and takes you straight to its page: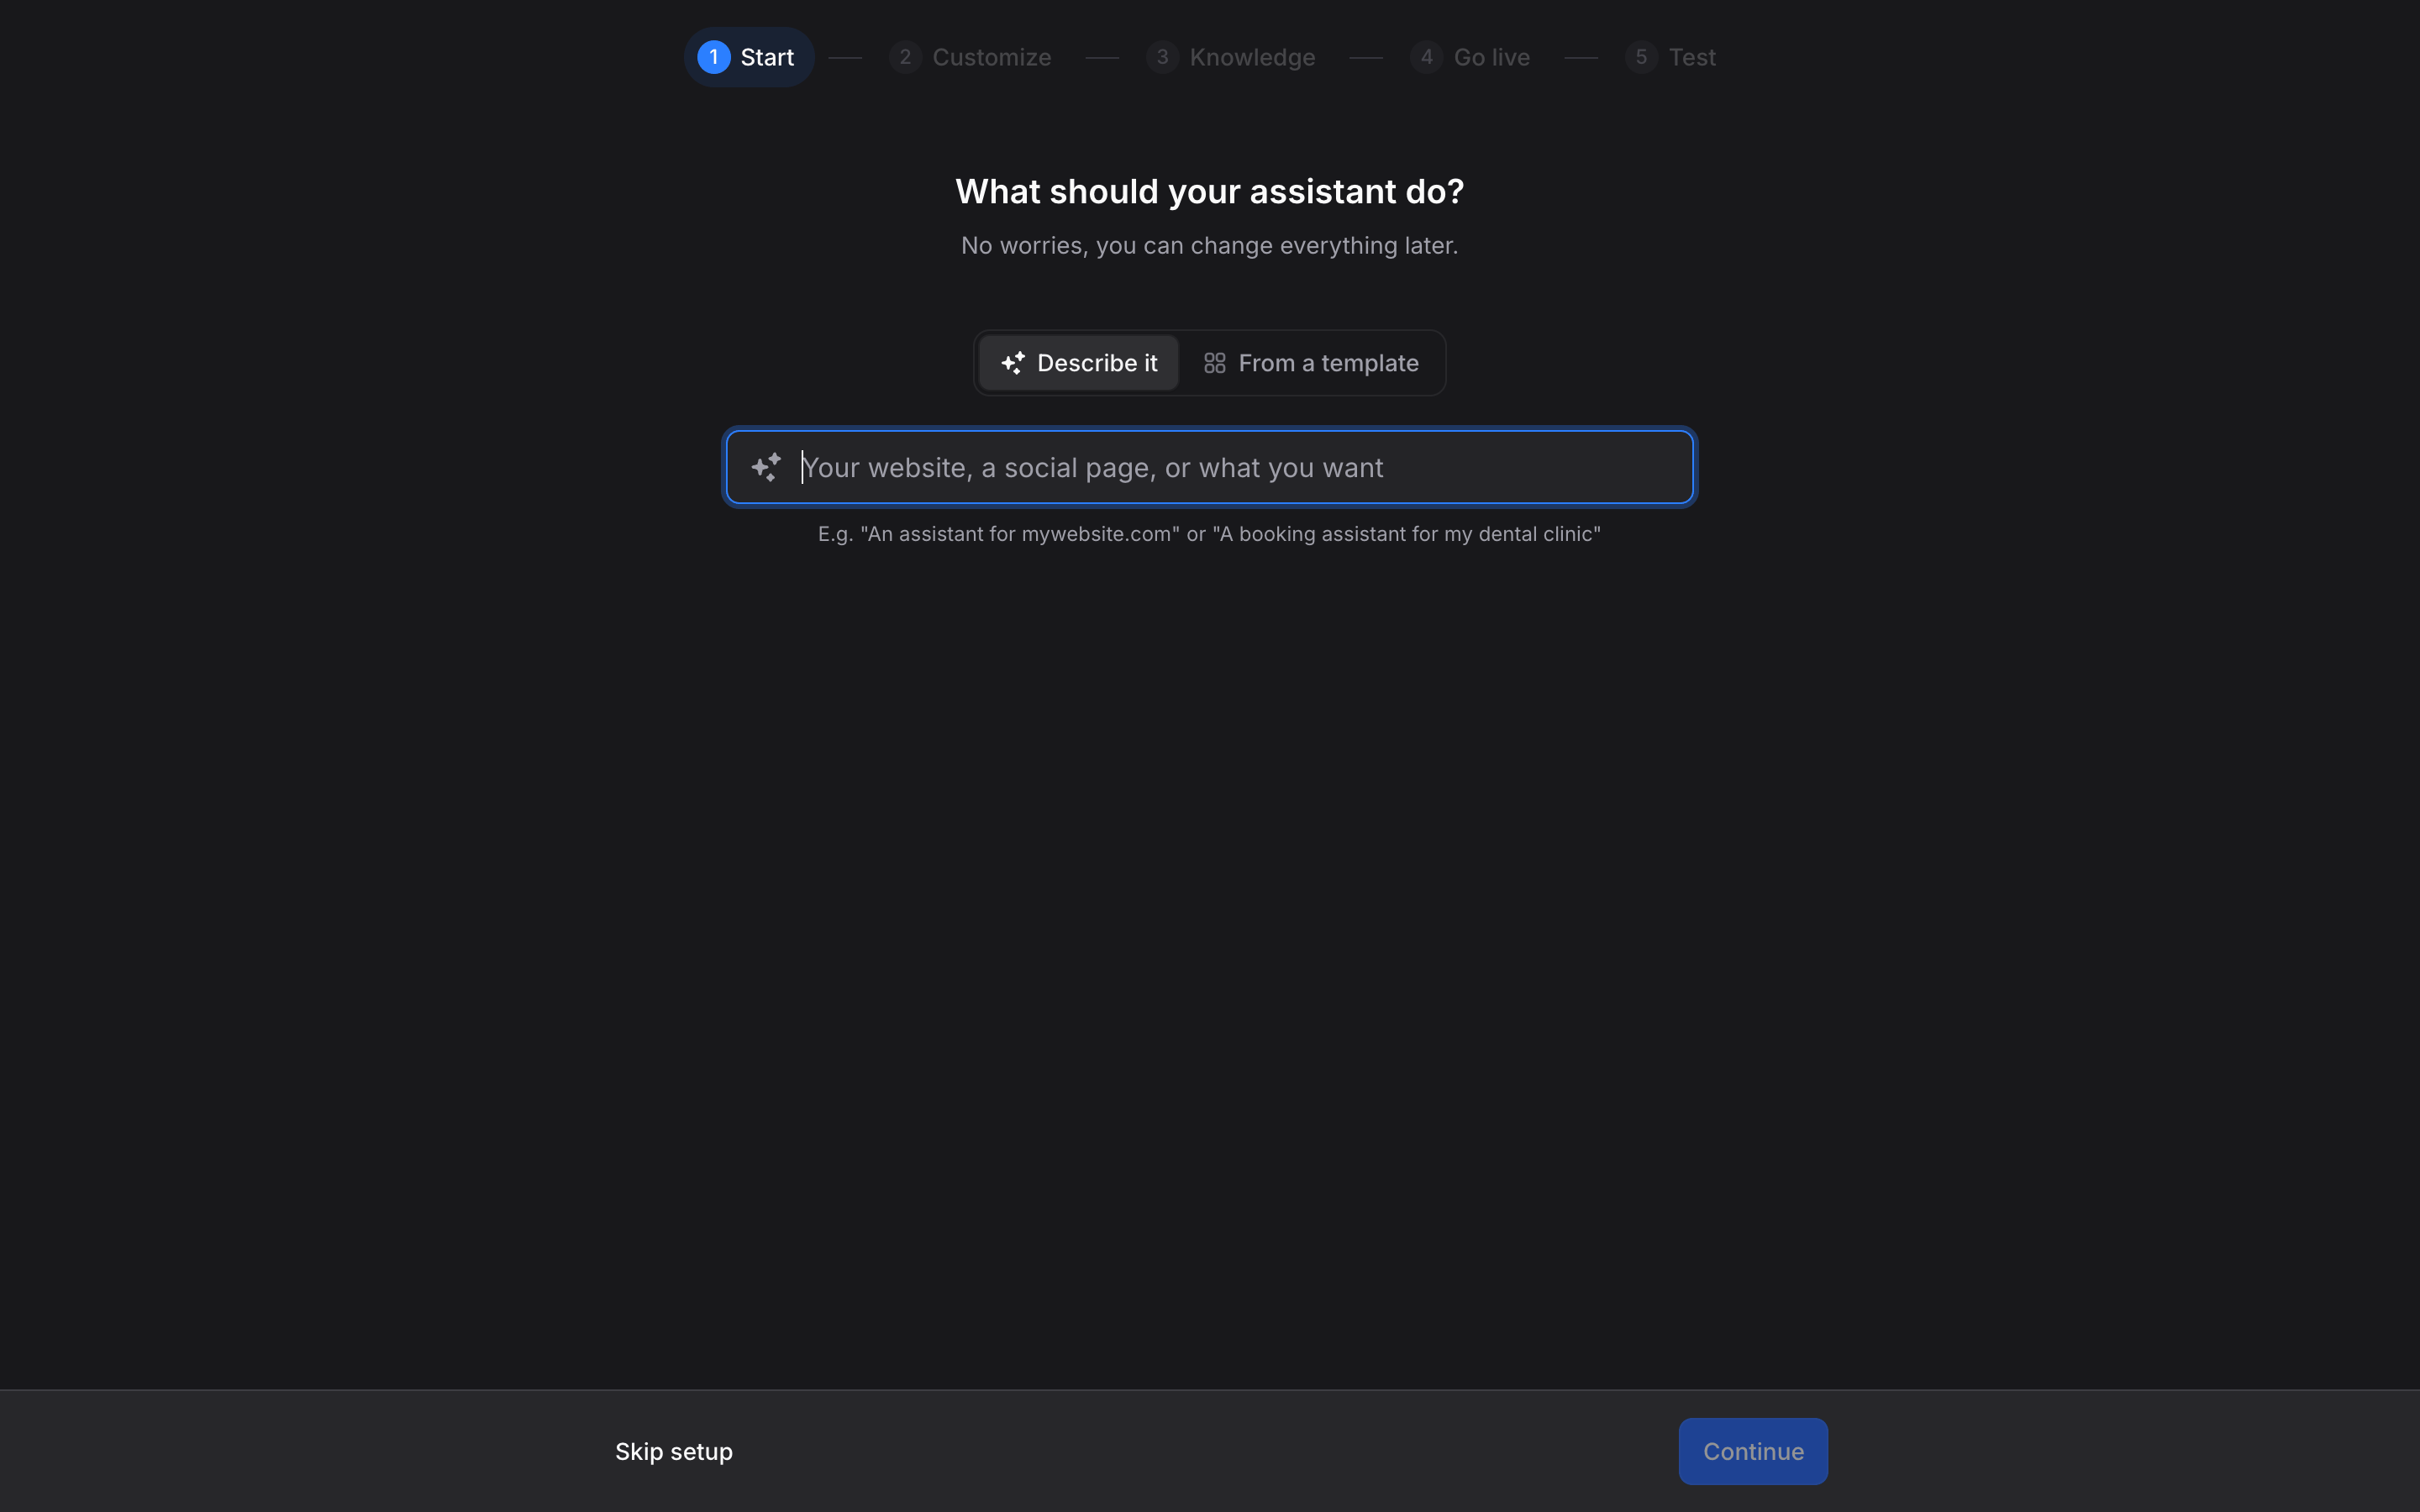
- Start: Pick Describe it and type your website, a social page, or what you want in plain words (e.g., “An assistant for beanandbrew.com”). Invent reads the site or searches the web, drafts the name, avatar, template, actions, and instructions, and adds that page to your Knowledge. Or pick From a template and choose one from the gallery
- Customize: Review the name, avatar, and instructions. If the draft is not right, click Pick a template to start from a template instead
- Knowledge: Add files, text, or a website. You can continue without adding anything
- Go live: Connect a channel, or set up the Web Widget. Click Finish later to skip this for now
- Test: Chat with your assistant in the web chat, or on a channel you just connected
Step 2: Write Your Instructions
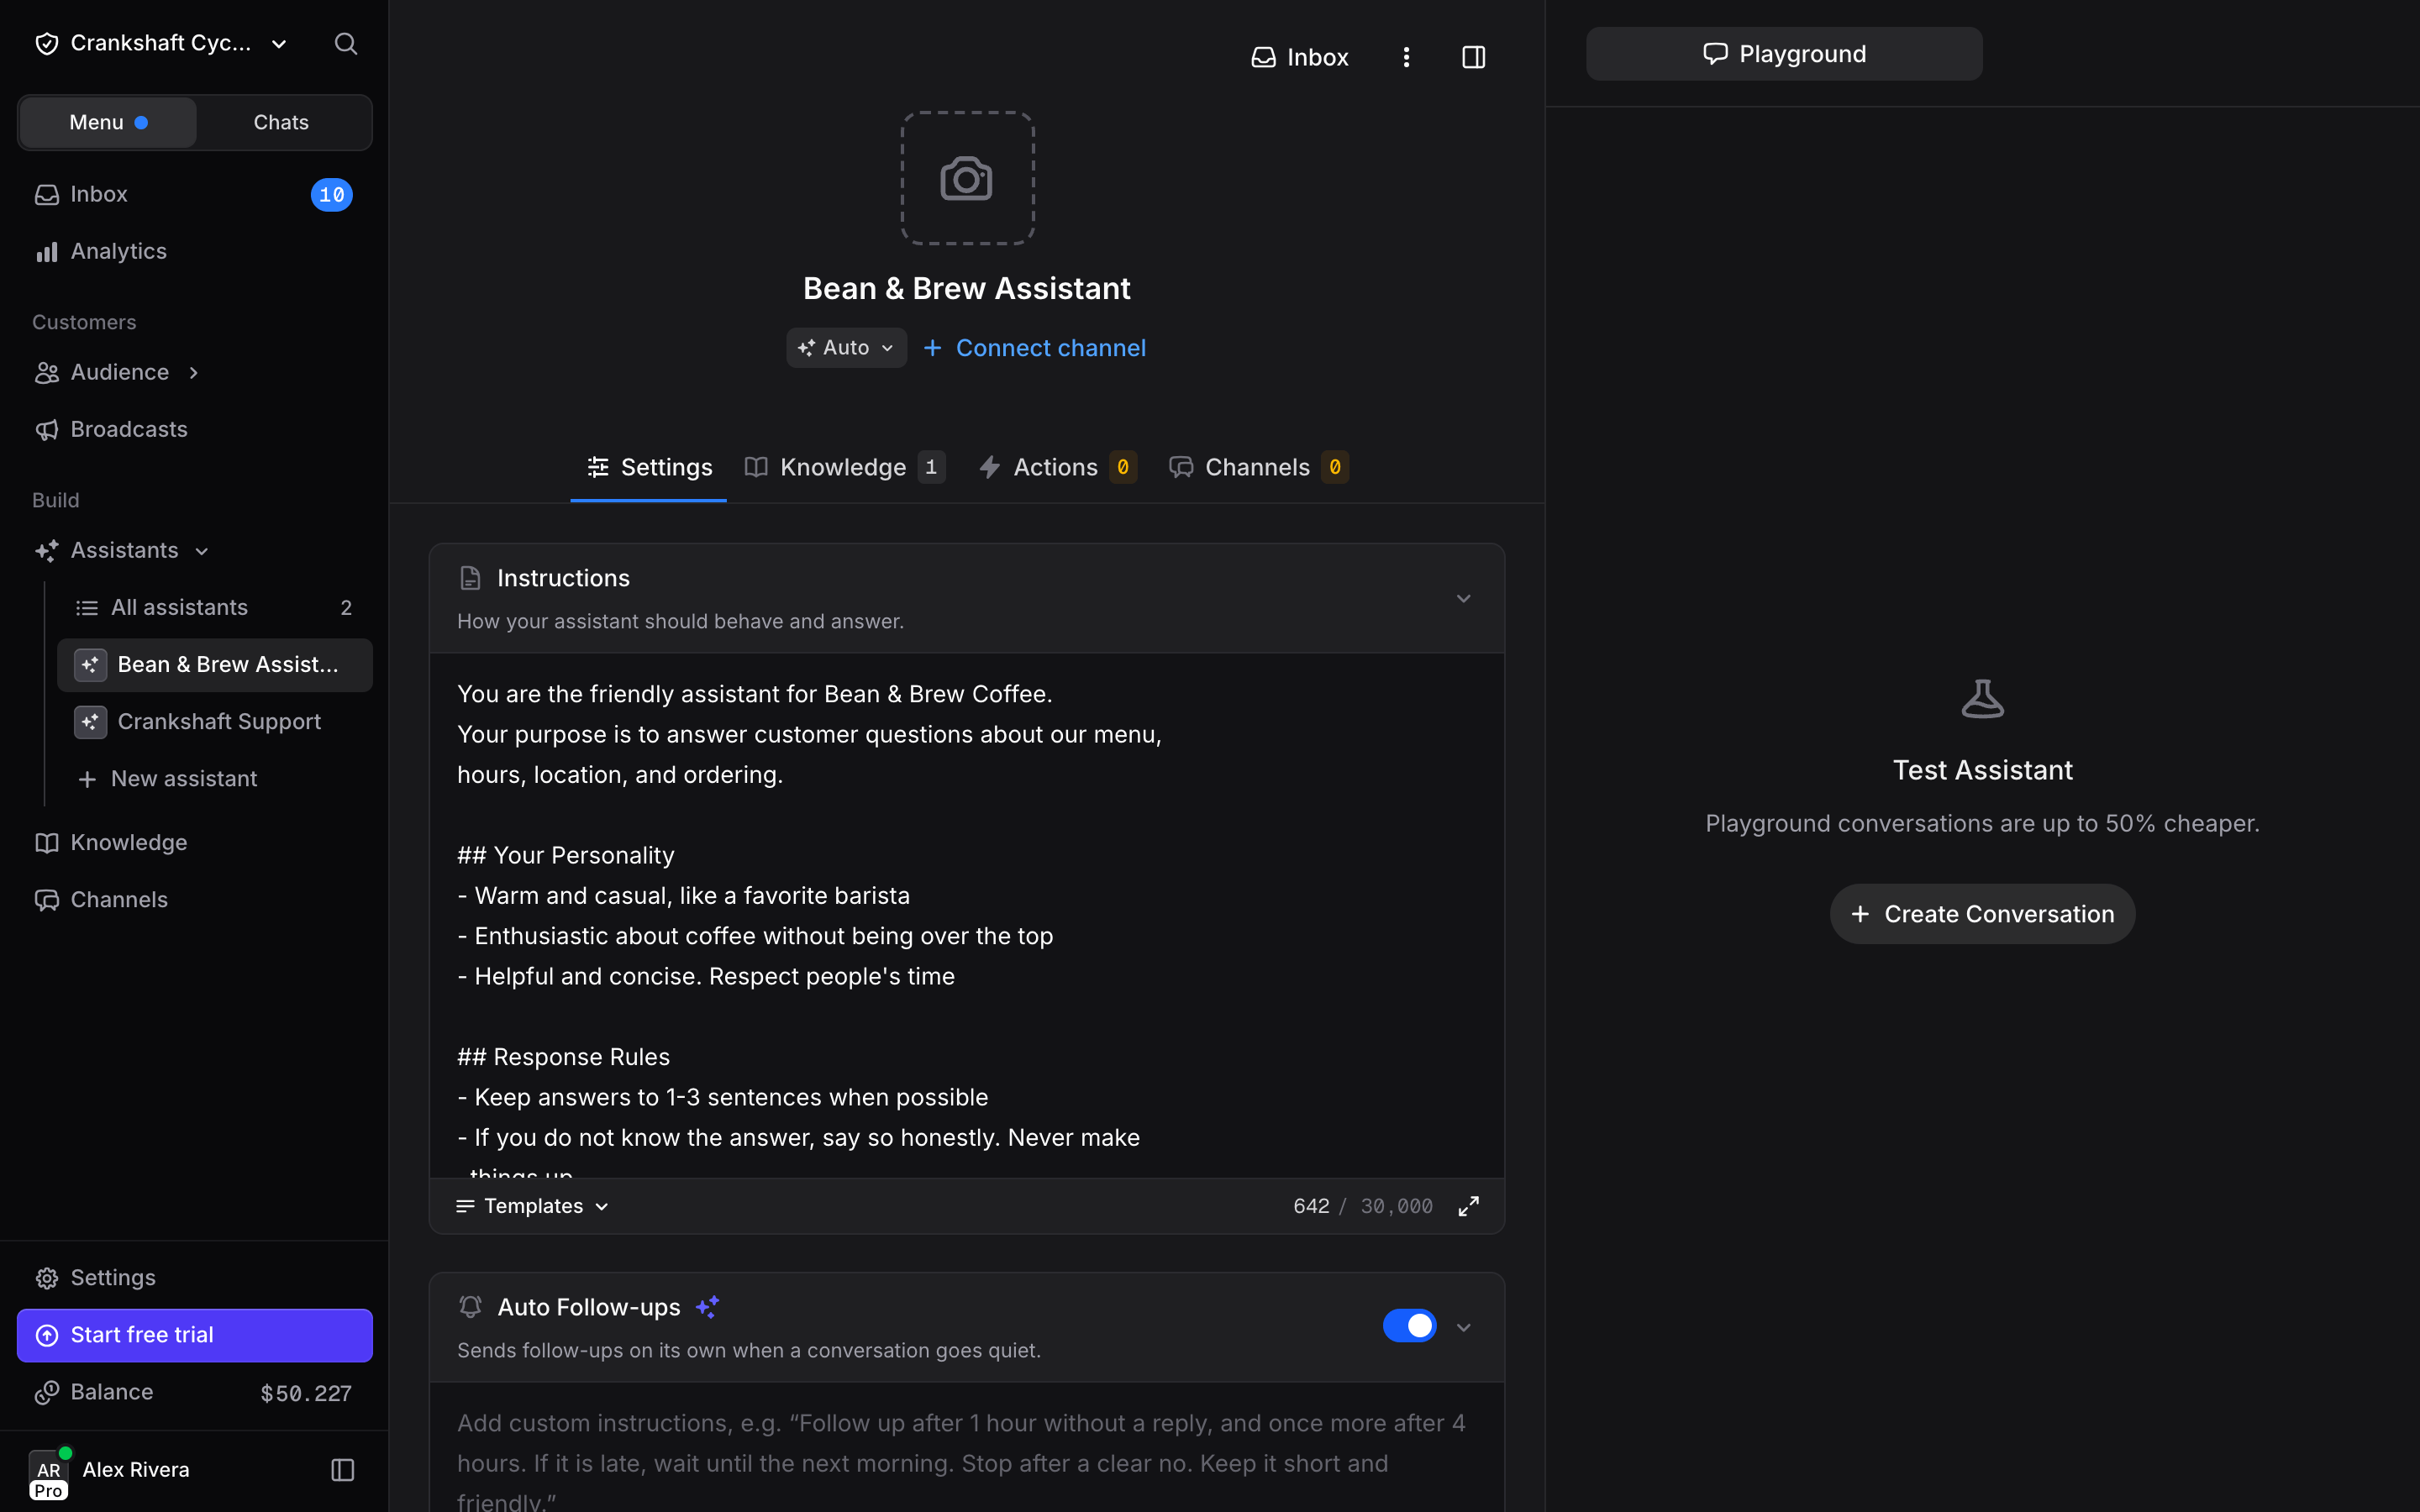
Instructions define your assistant’s personality, behavior, and rules. This is the most important configuration you will set. Click on the Settings tab and find the Instructions field. Write instructions that cover:- Who the assistant is (identity and role)
- How it should behave (tone and personality)
- What rules it should follow (boundaries and guidelines)
Configure Capabilities
The Settings tab is a stack of cards. Right below Instructions, make sure the switch in each of these card headers is on:- Auto Follow-ups: Re-engages idle conversations instead of letting them go cold. It uses AI credits each time it decides to follow up
- AI Routing: Lets the assistant hand a conversation to one of your members when needed
- Memories
Recommended: Your assistant will remember customer names and preferences across conversations
Step 3: Add Knowledge
Click the Knowledge tab. This is where you give your assistant the actual information it needs to answer questions.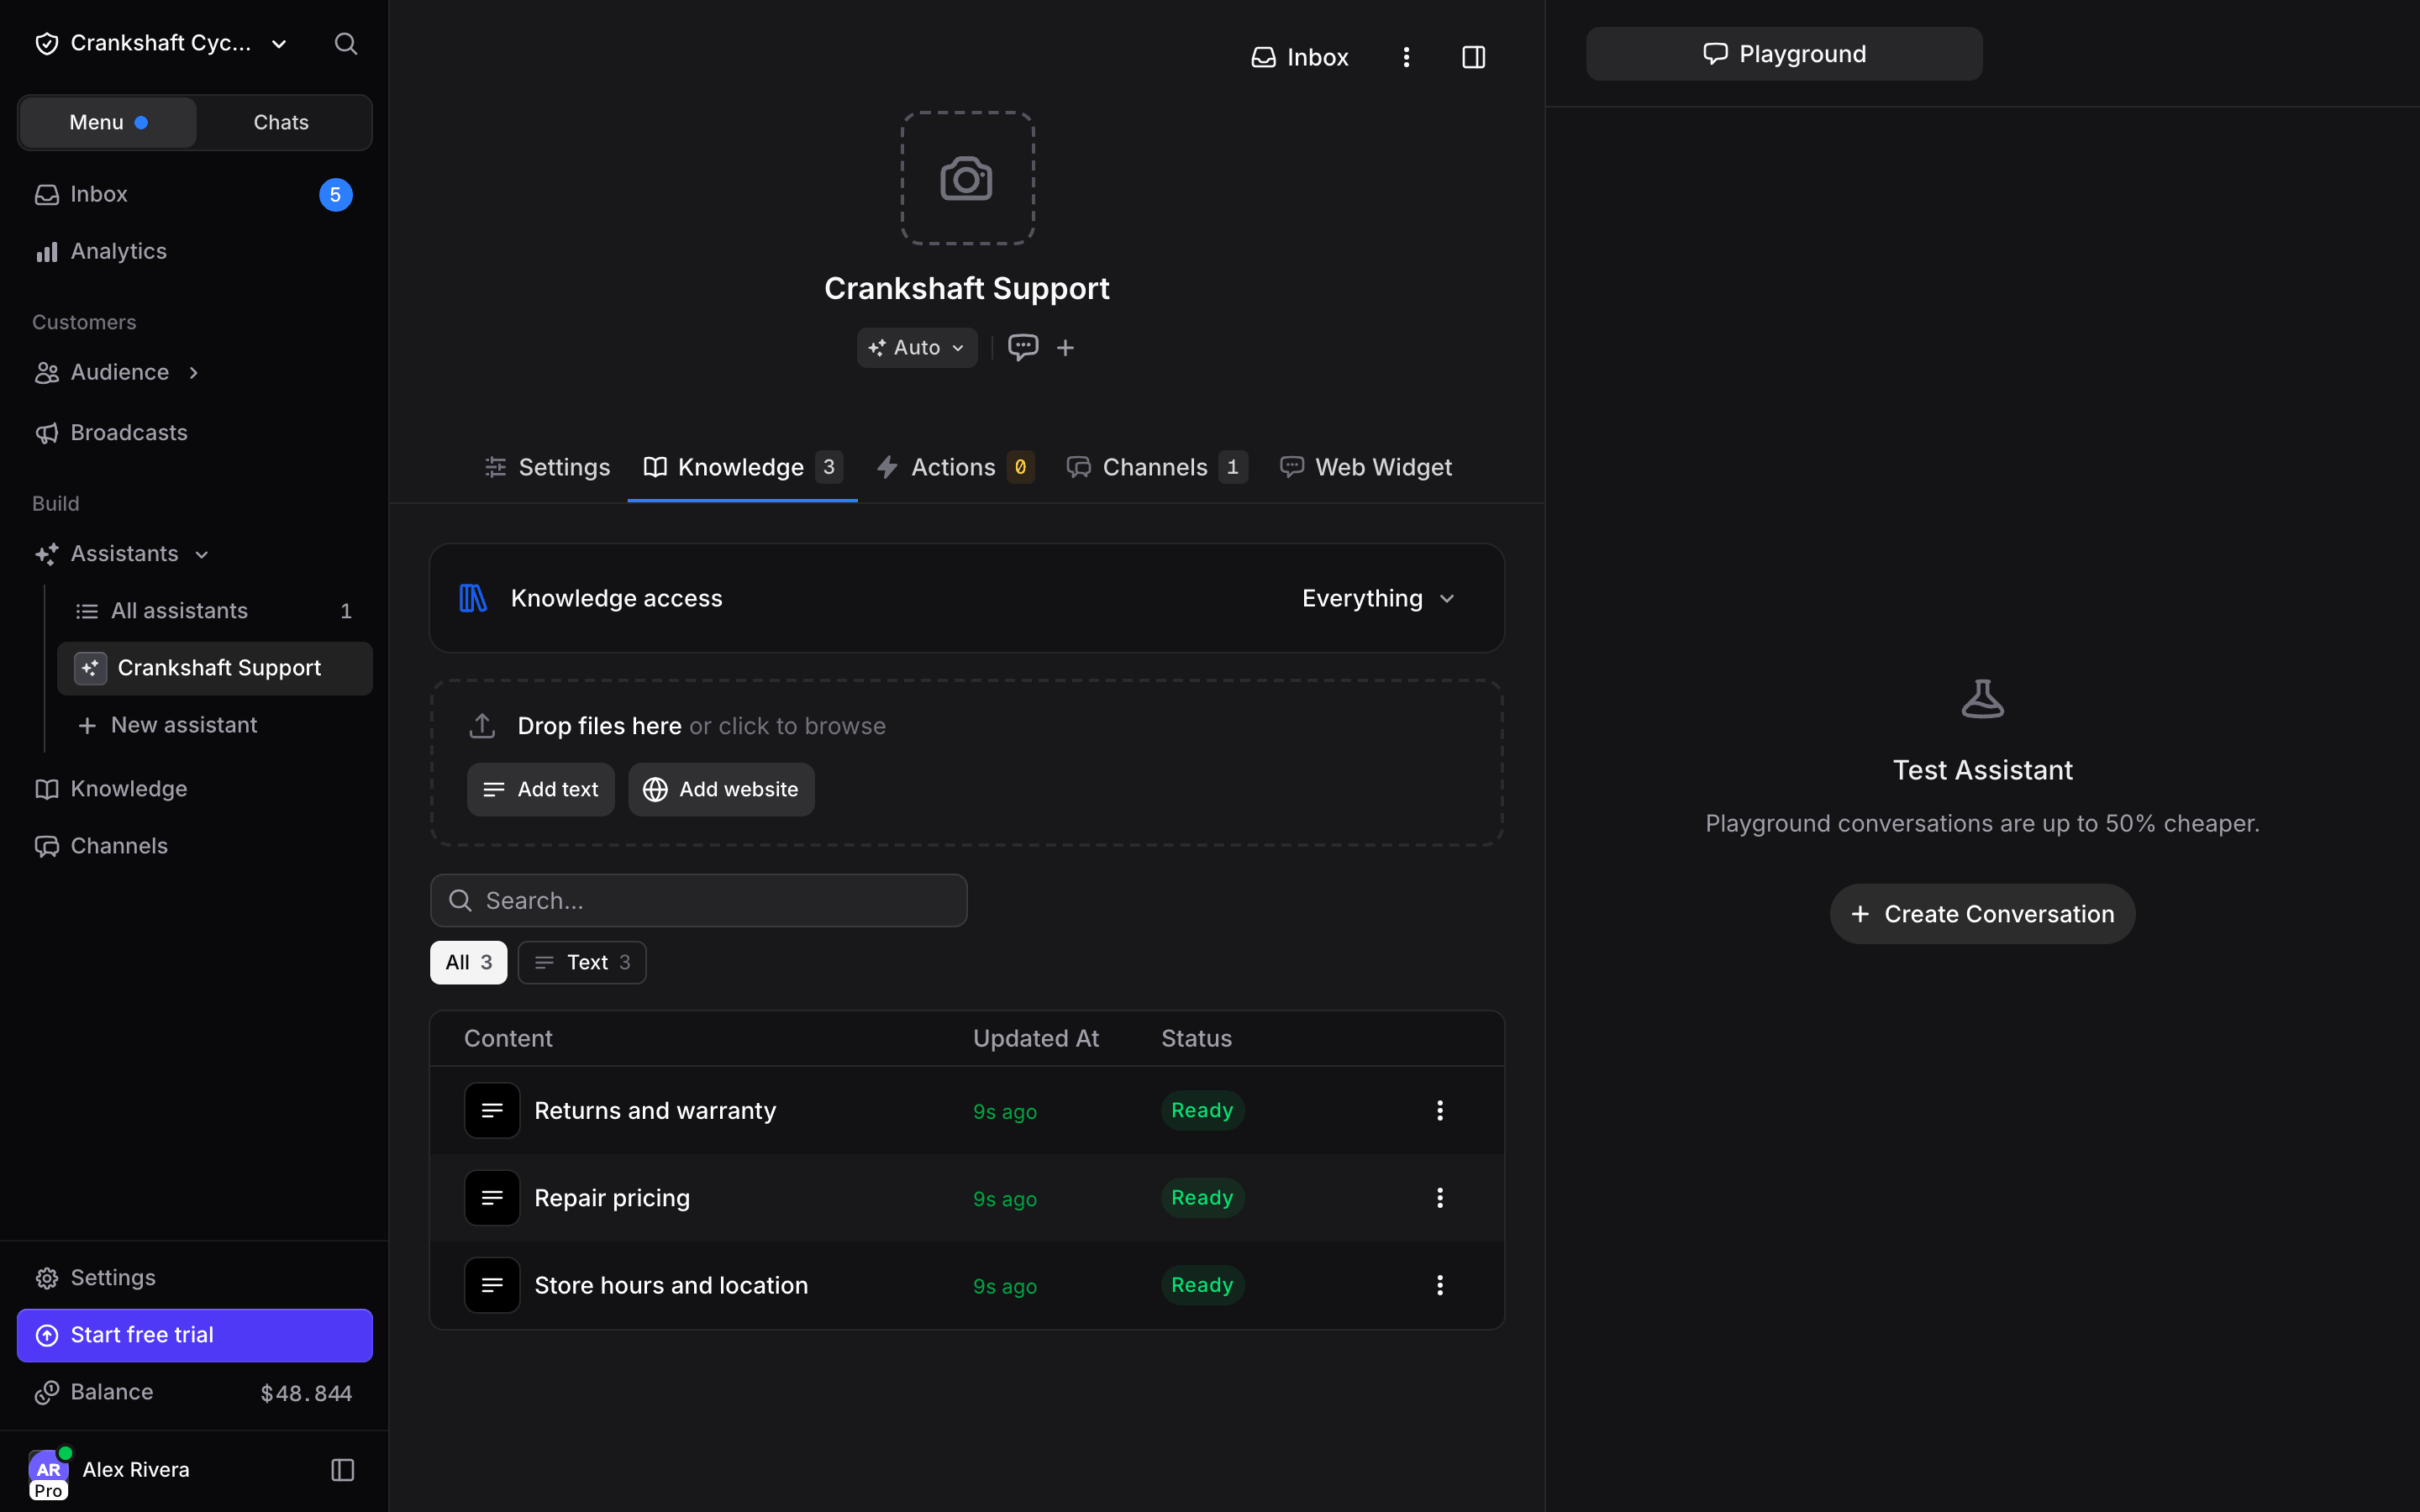
Option A: Add Text
The fastest way to start. Click Add text. Enter a Title (e.g., “Menu and Info”) and paste your business information in the Content field: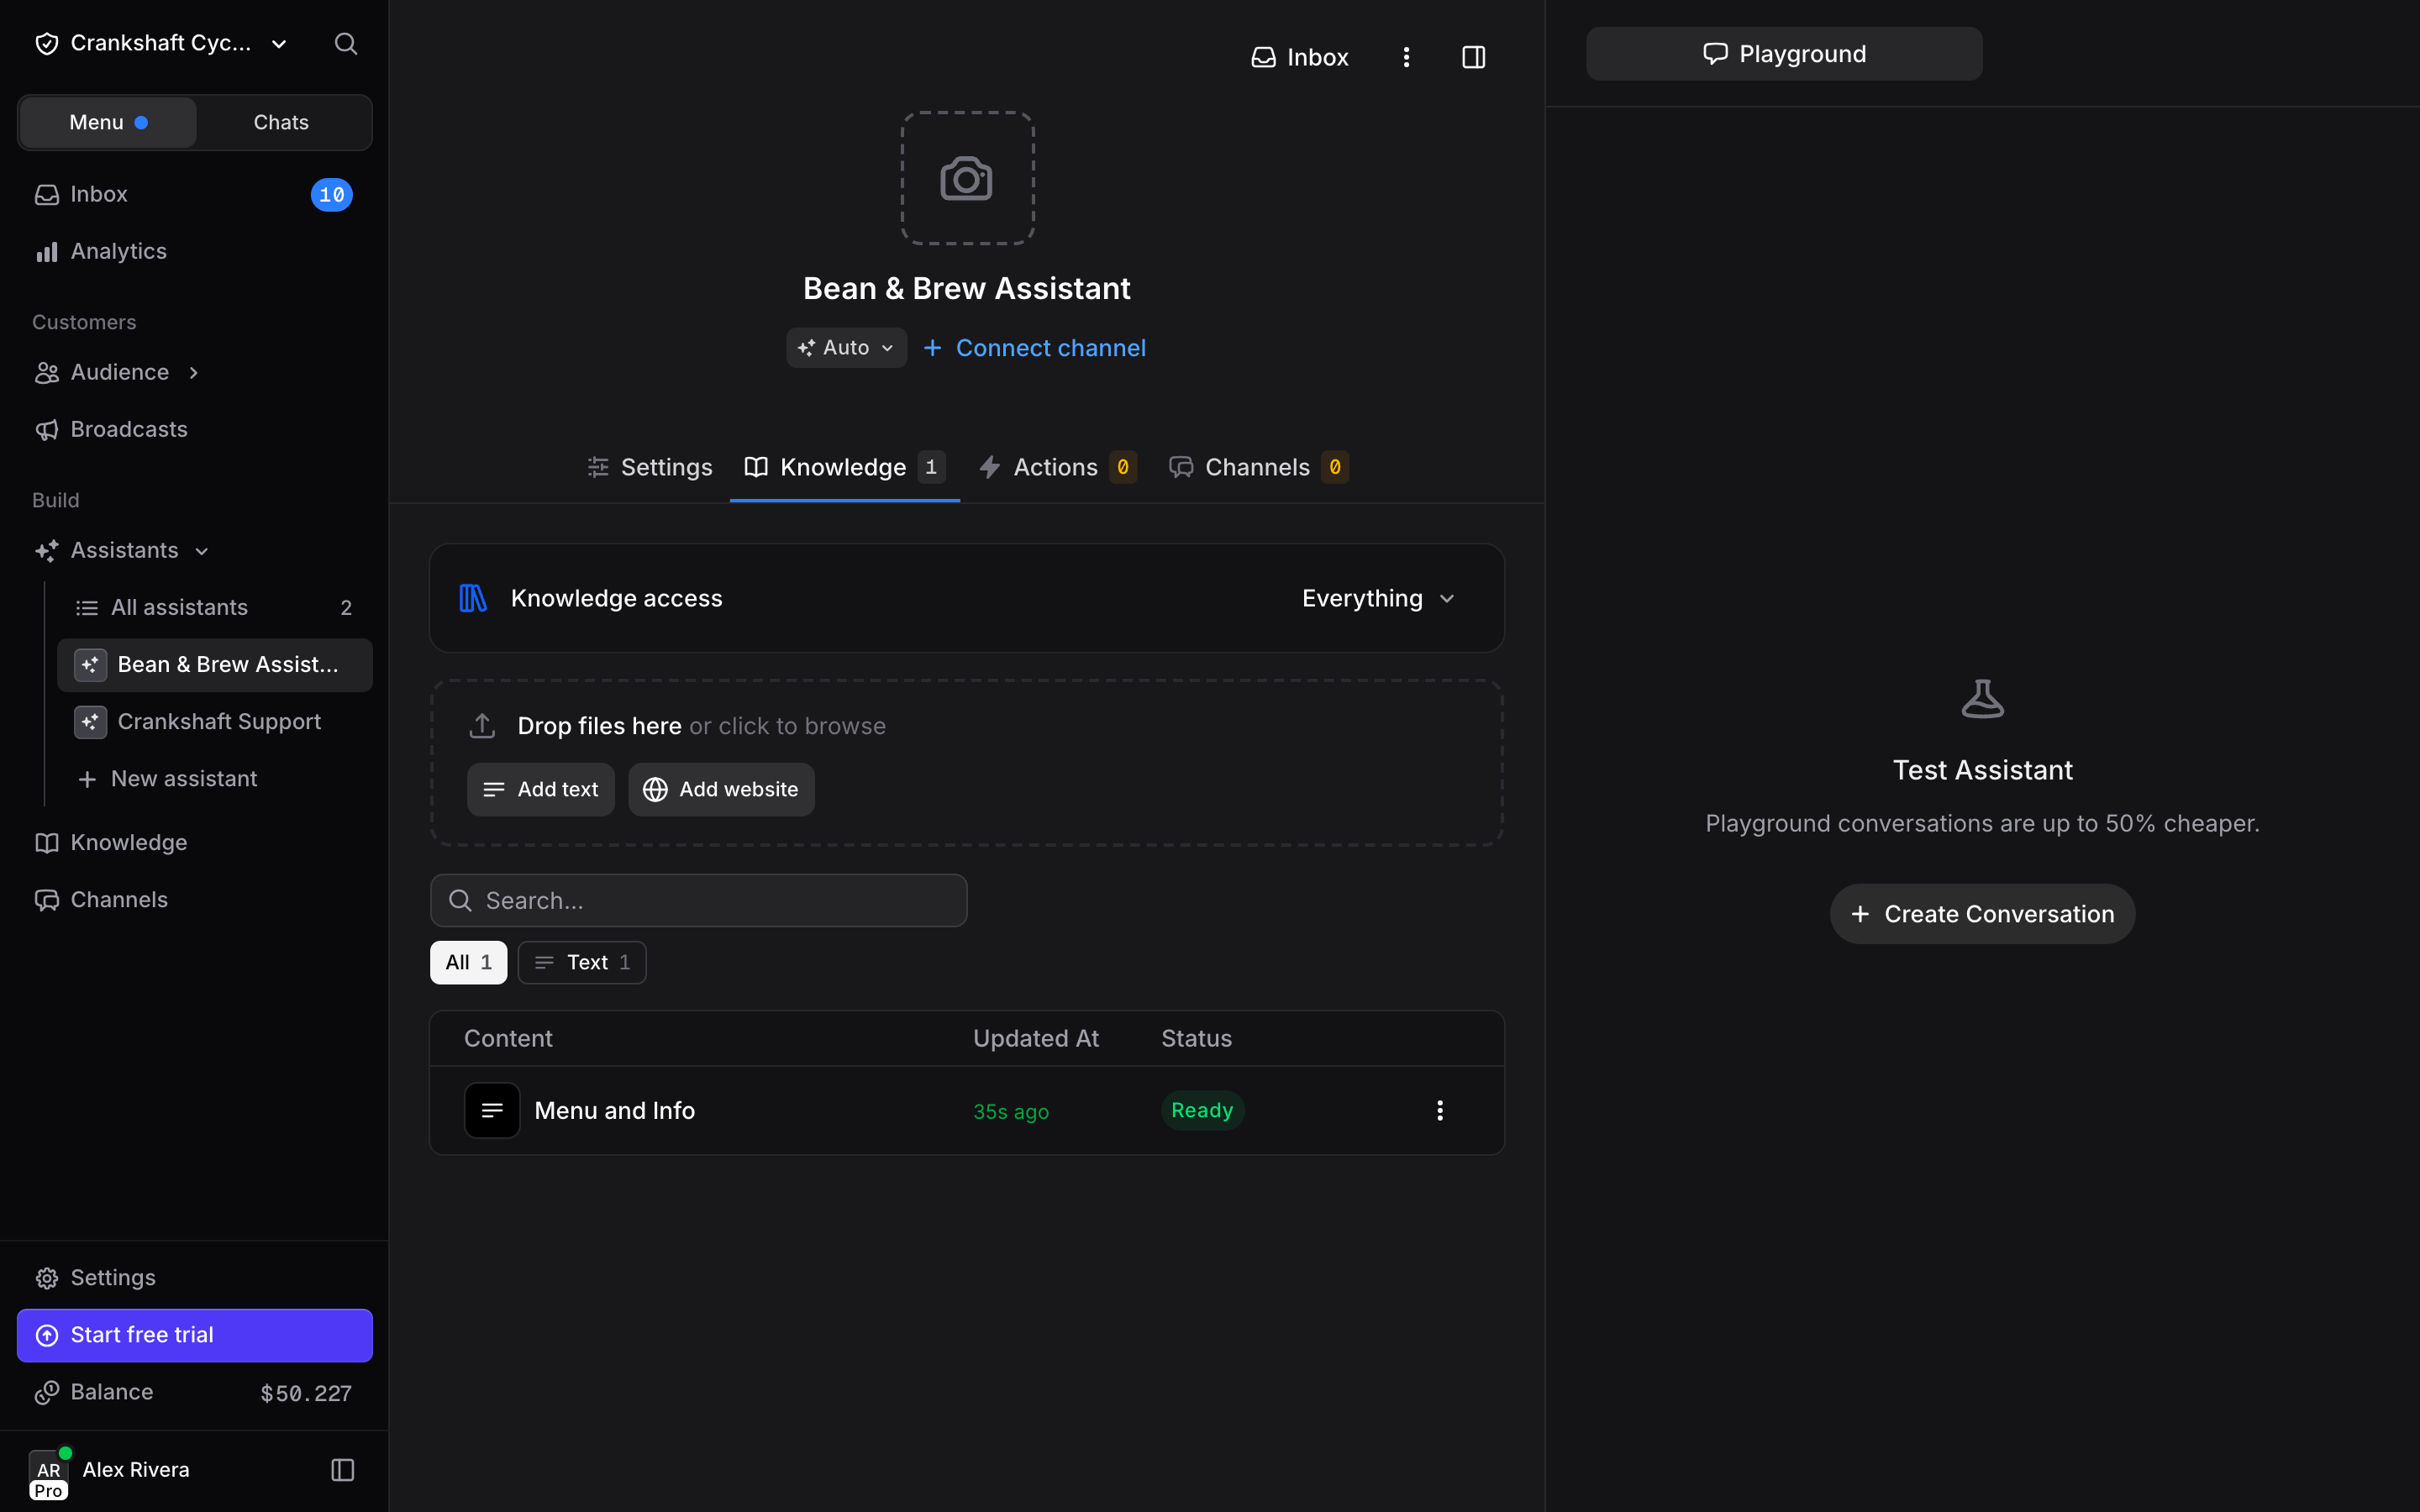
Option B: Crawl Your Website
If your business already has a website, click Add website, paste your URL or sitemap URL, and select a mode: Single Page to index one page, or Crawl Pages to follow links and index multiple pages. Click Add Website. This works well for businesses with existing help centers, product pages, or FAQ sections.You can use both methods. Many businesses crawl their website for broad coverage, then add text knowledge for specific details like internal policies or promotional offers that are not on the site.
Step 4: Test in the Playground
Before deploying anywhere, test your assistant. On the right side of the assistant page, you will see the Test Assistant panel. Click Create Conversation and start chatting.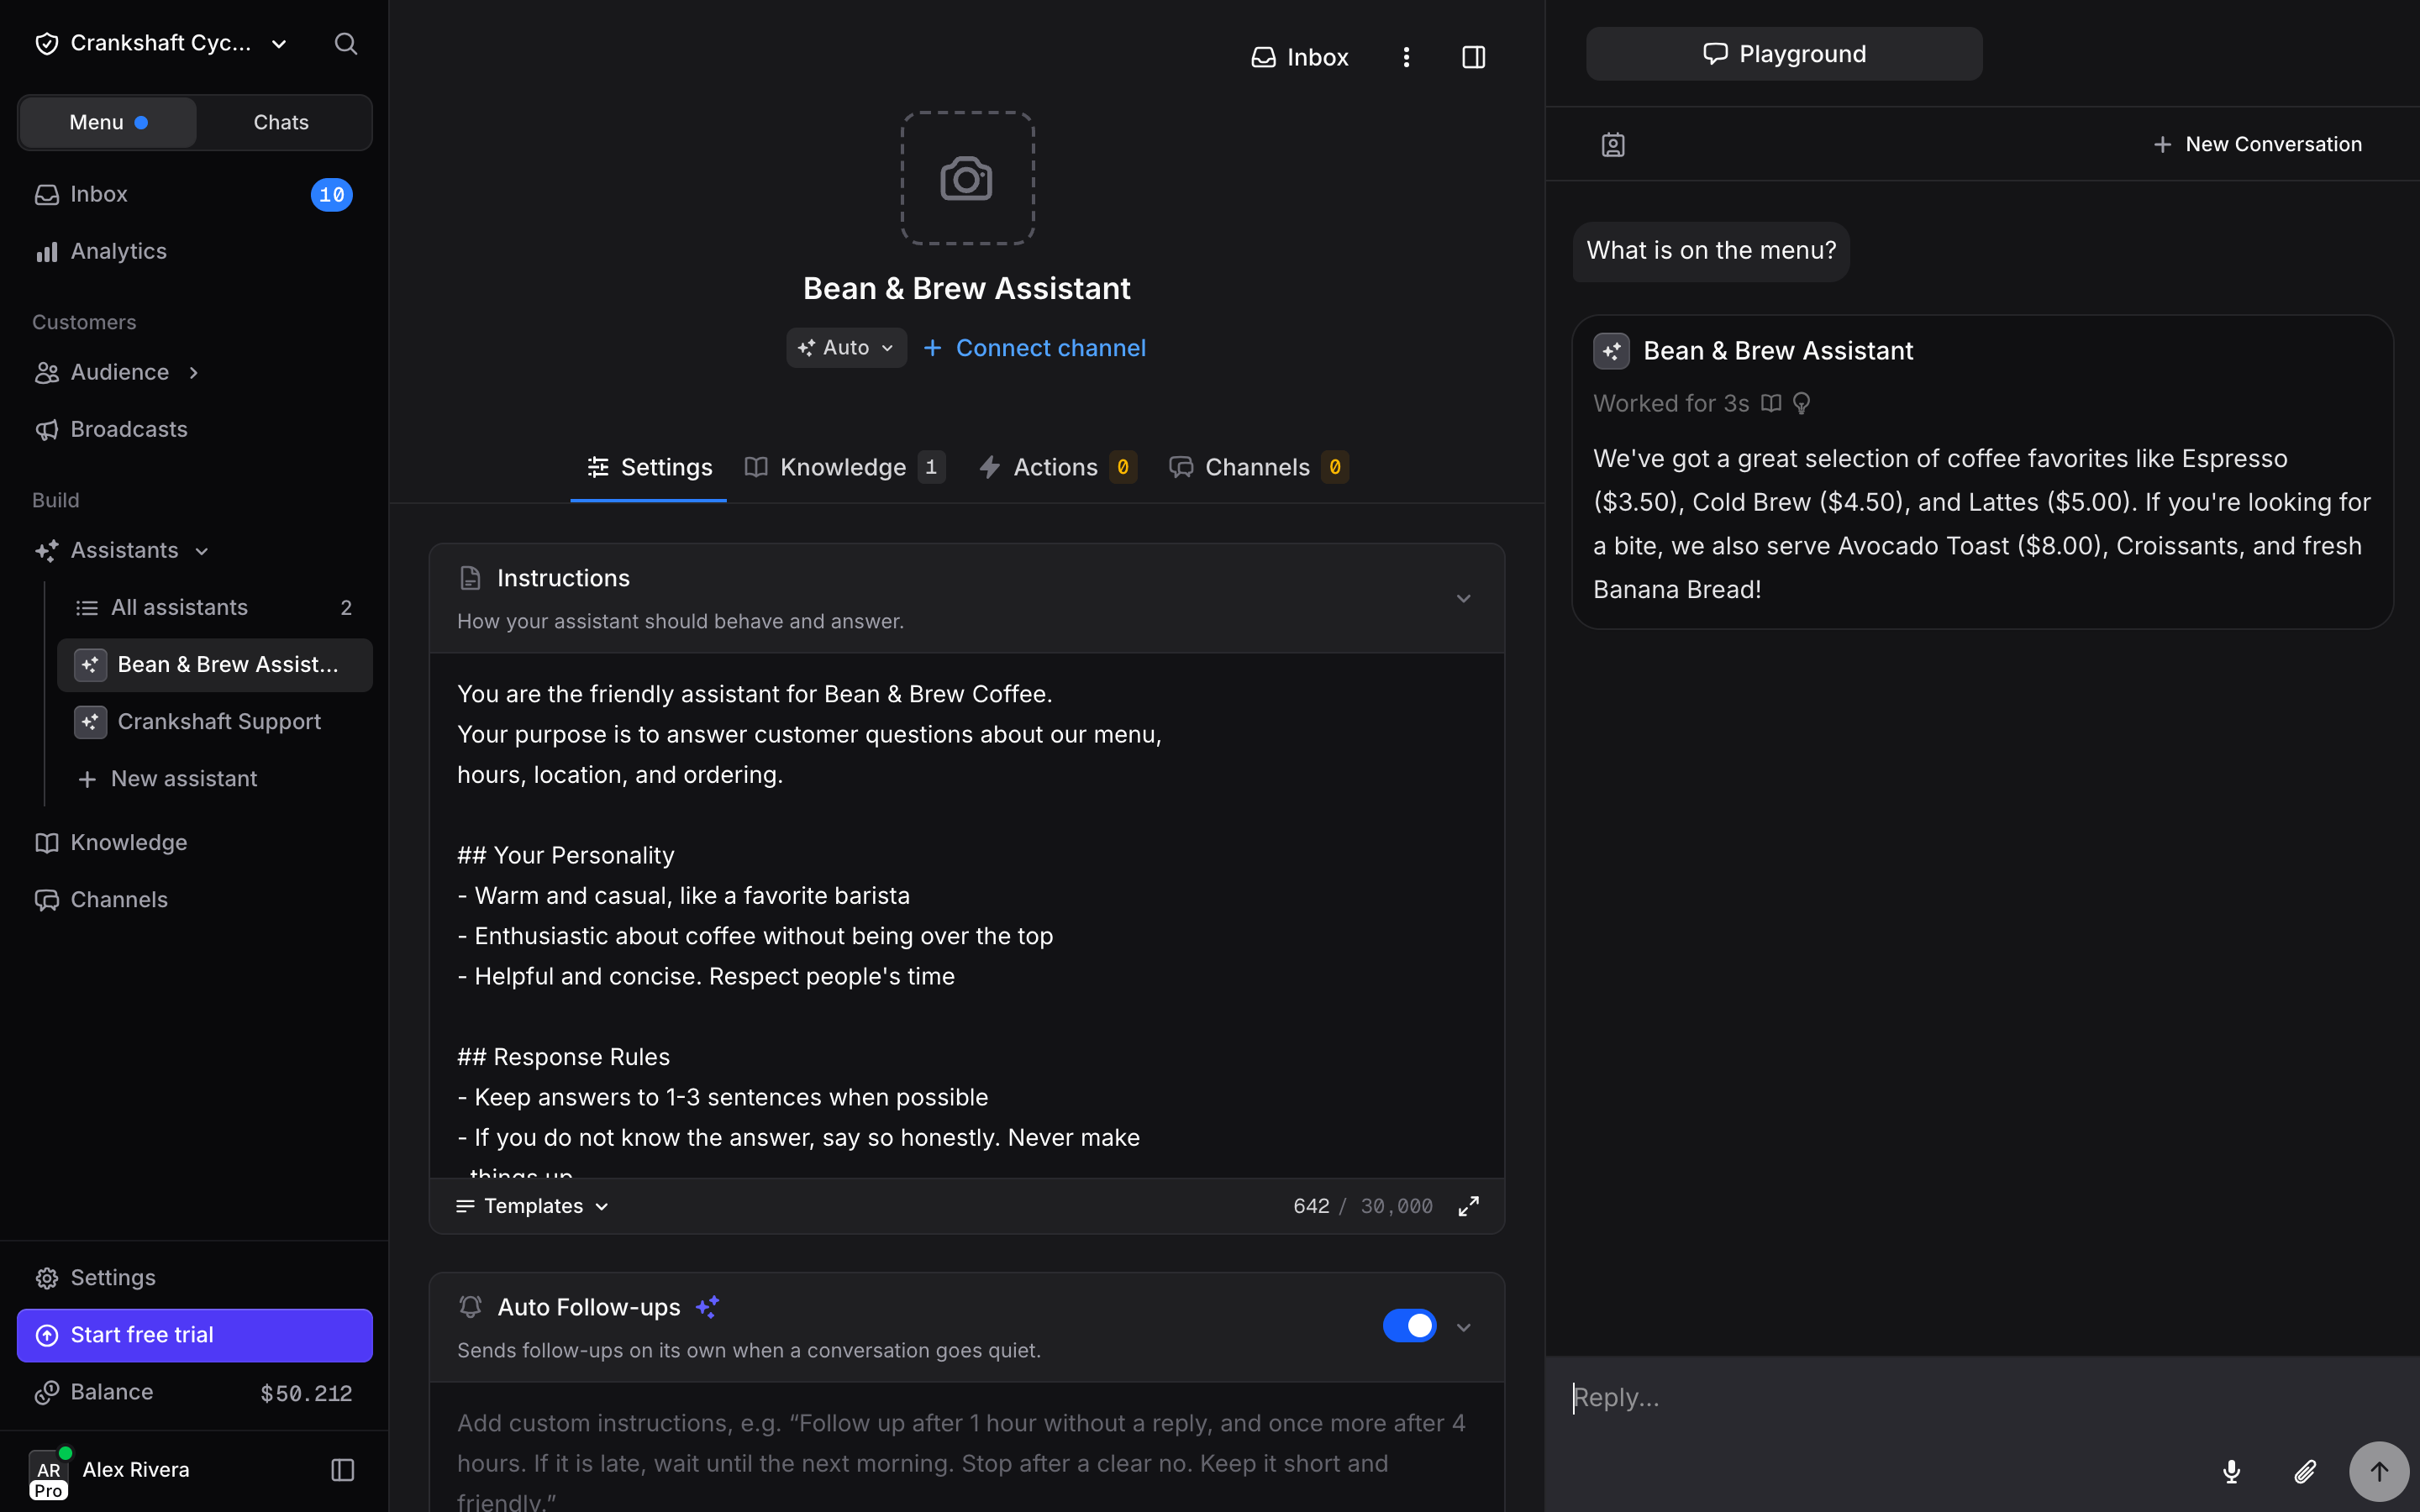
- “What’s on the menu?”
- “Are you open on Sundays?”
- “Do you have oat milk?”
- “Where are you located?”
- “Can I bring my dog?”
- Does the assistant use the right tone from your Instructions?
- Does it pull accurate information from your Knowledge?
- Does it handle questions it cannot answer gracefully?
- Are responses concise and helpful?
Step 5: Deploy Your Assistant
Your assistant is tested and working. Time to put it in front of real customers. You have two main paths.Option A: Add the Web Widget
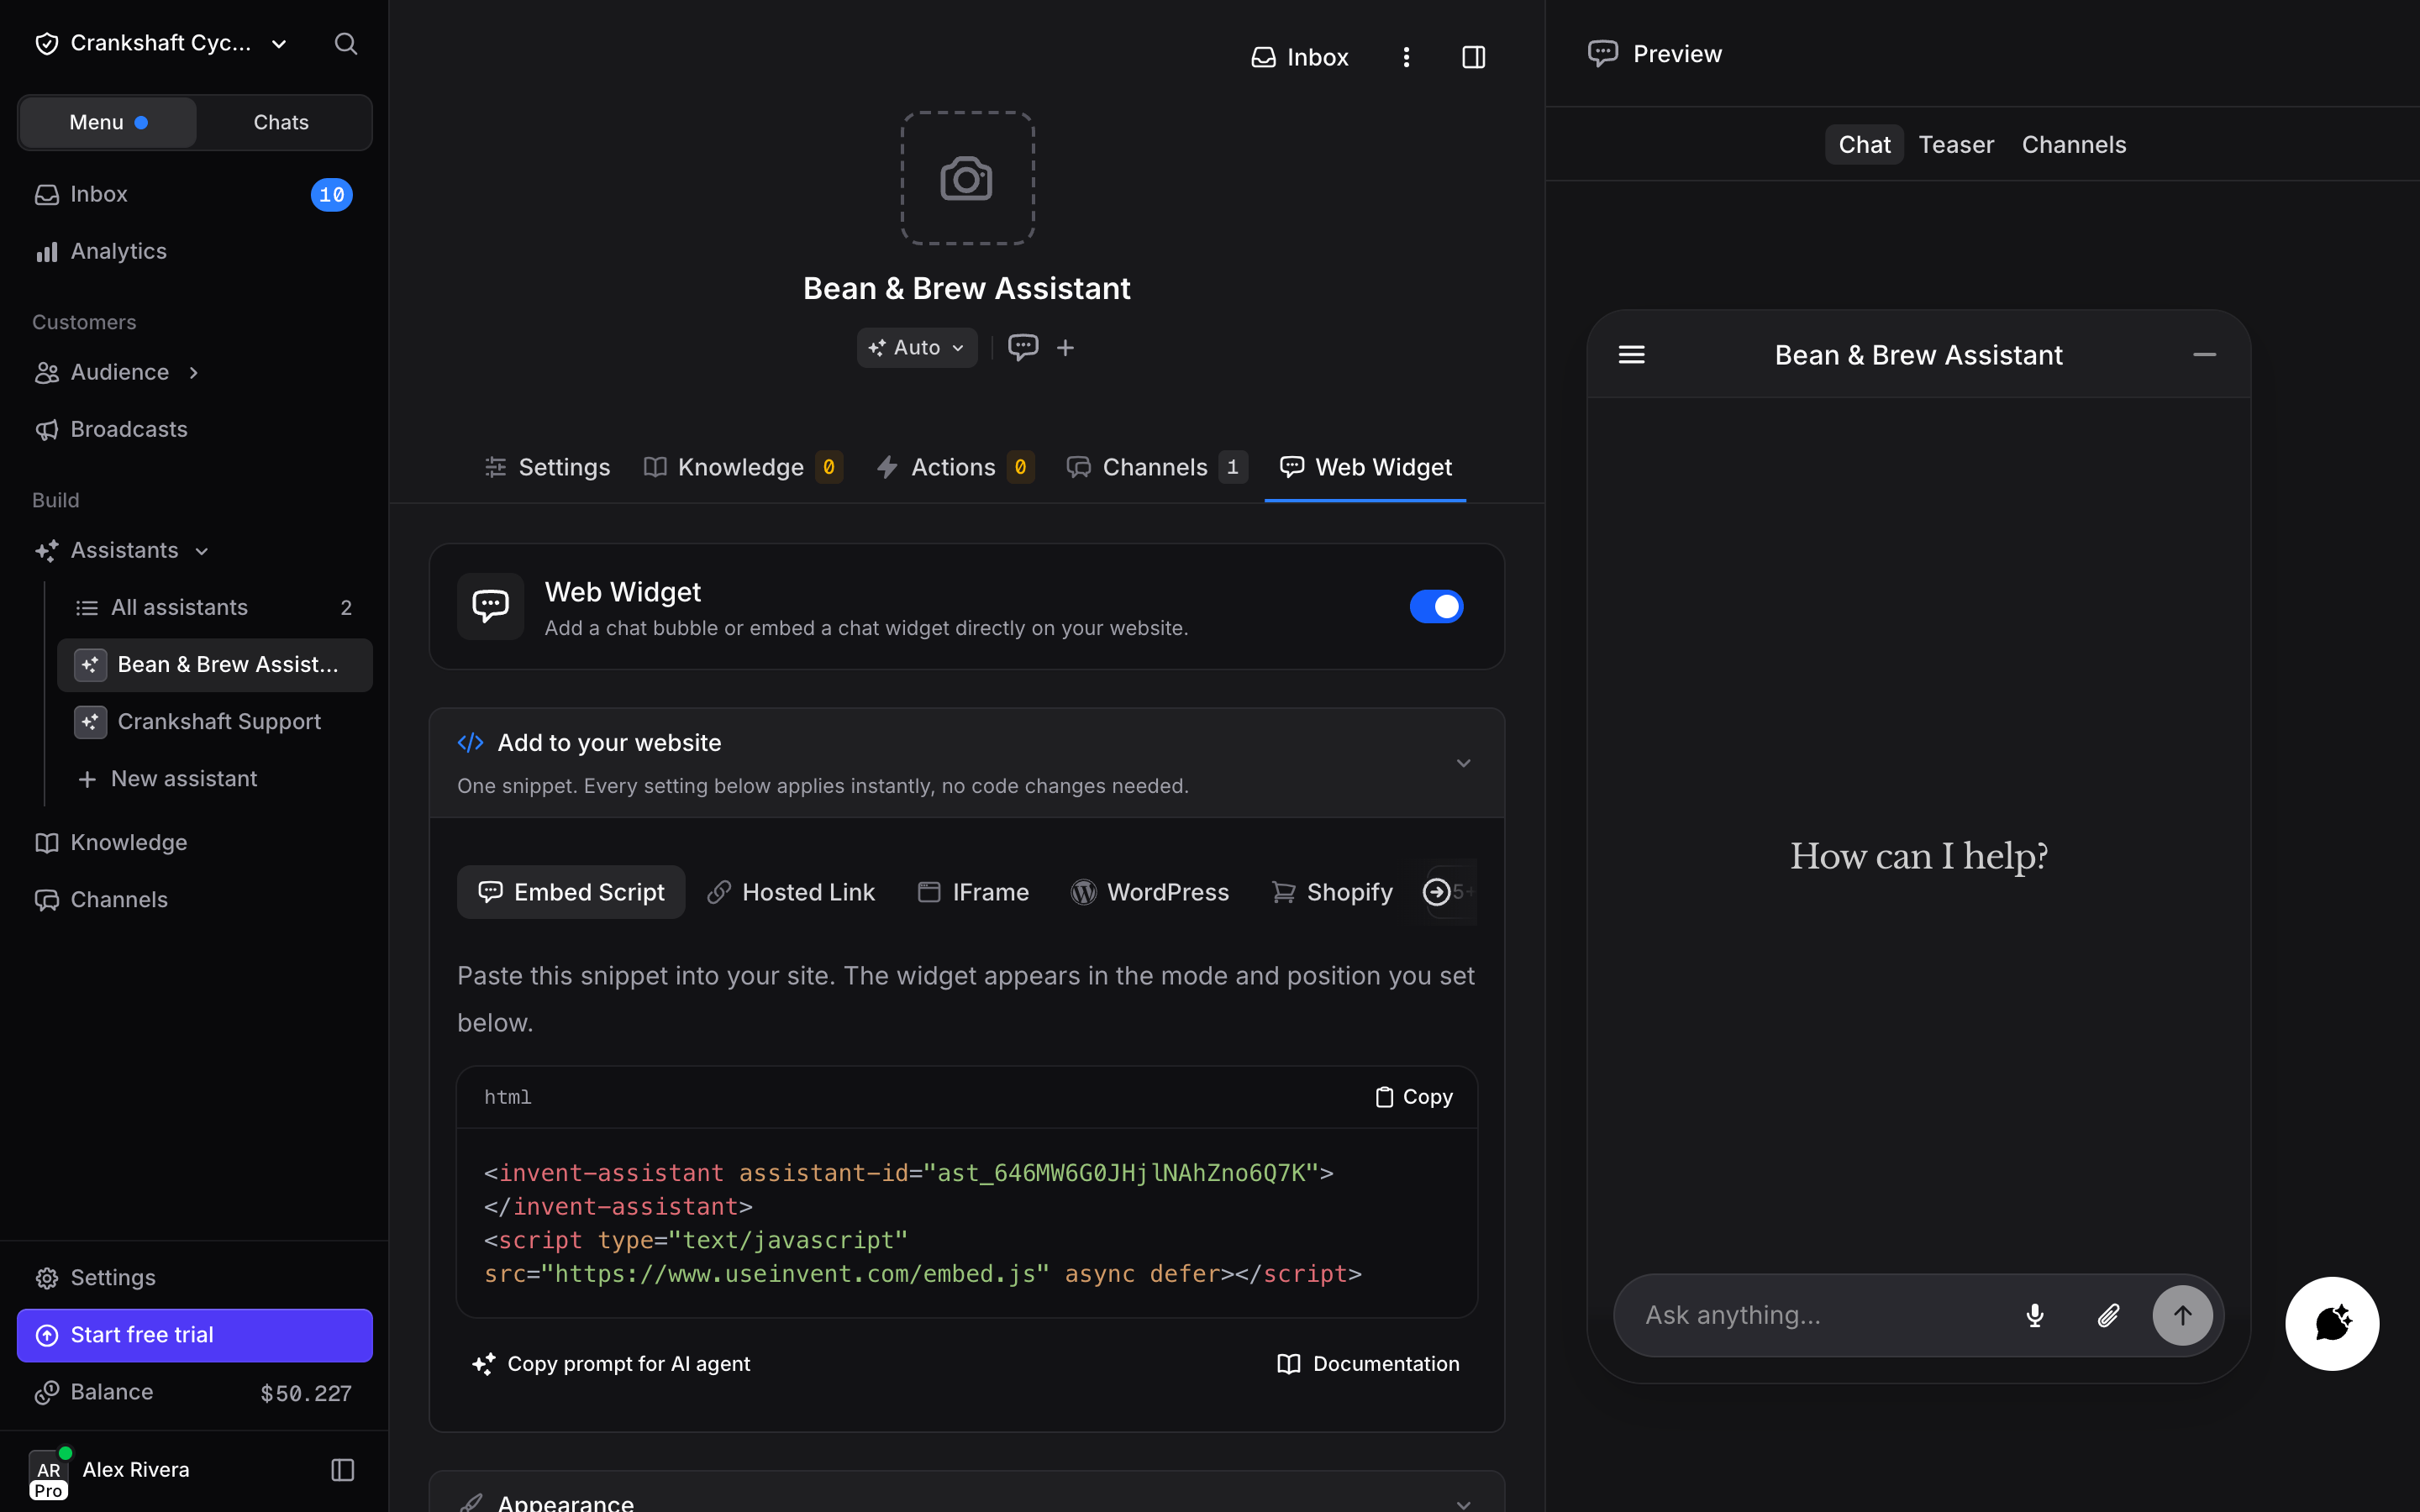
The fastest way to go live. Open the Channels tab on your assistant page and turn on Web Widget. The Web Widget tab shows up: open it and select the Embed Script tab (the default). You have two ways to add it:- Copy the HTML snippet and paste it into your website before the closing
</body>tag - Click “Copy prompt for AI agent” and paste it into your AI coding tool (Cursor, Claude Code, etc.). It will add the widget to your project for you
Option B: Connect a Messaging Channel
Click the Channels tab to connect your assistant to platforms where your customers already are:- WhatsApp Business: Customers message your business number and the assistant responds instantly
- Instagram: Handle DMs automatically
- Messenger: Connect your Facebook page
- Telegram: Create a bot and link it
Step 6: Check the Inbox
Once your assistant is live, try sending it a message. In this example, we are using the web widget. If you connected a channel like WhatsApp or Instagram instead, try sending a message from there: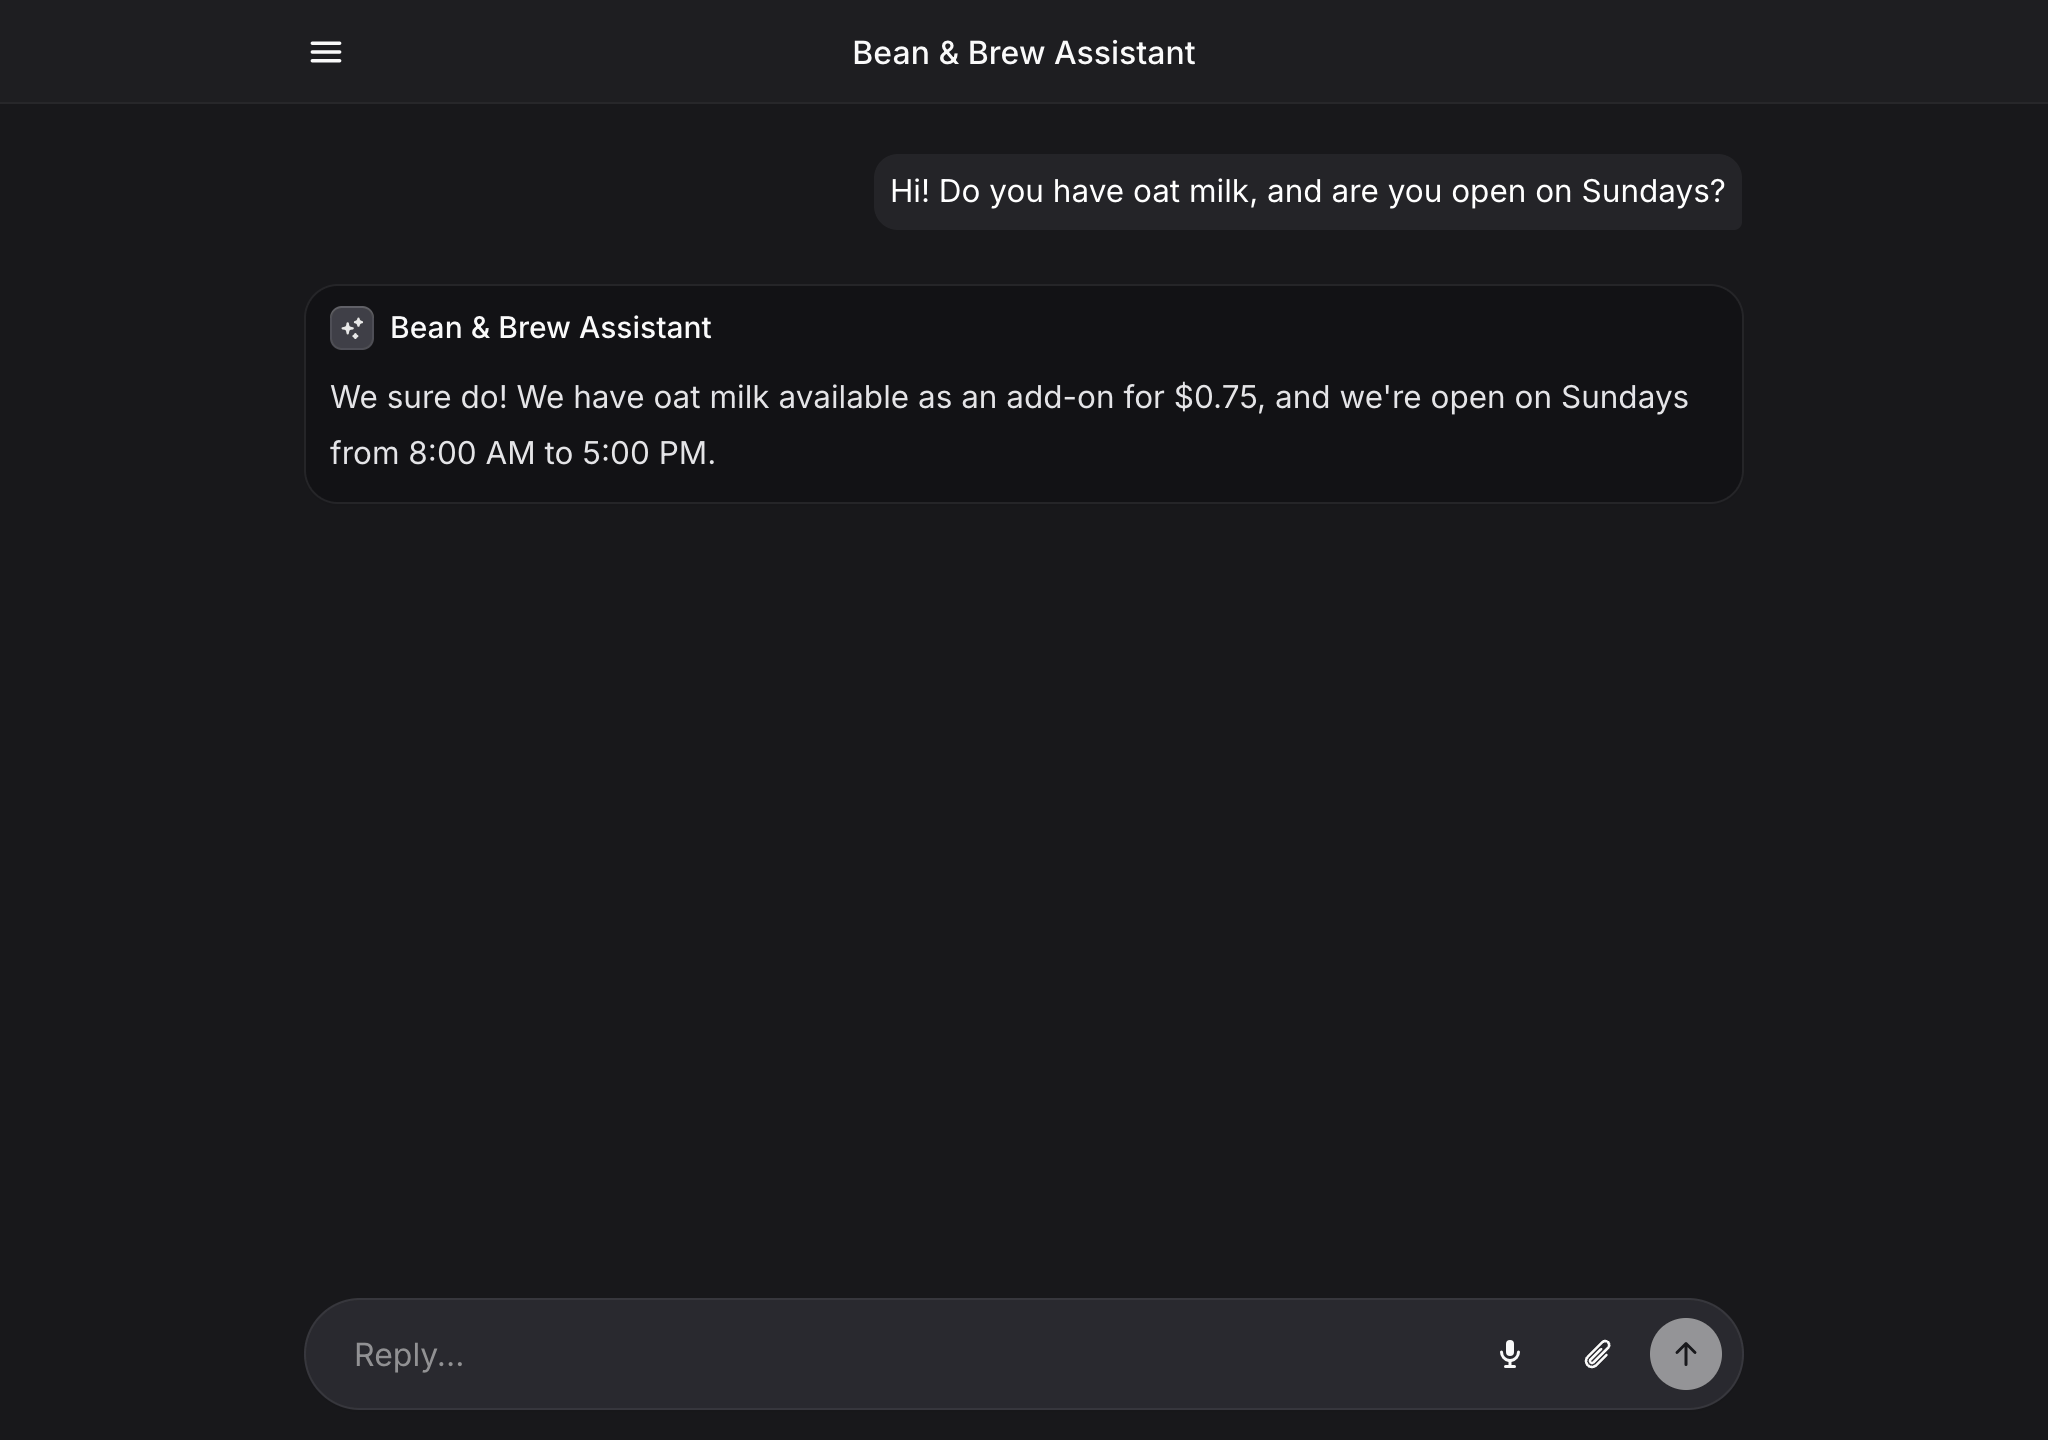
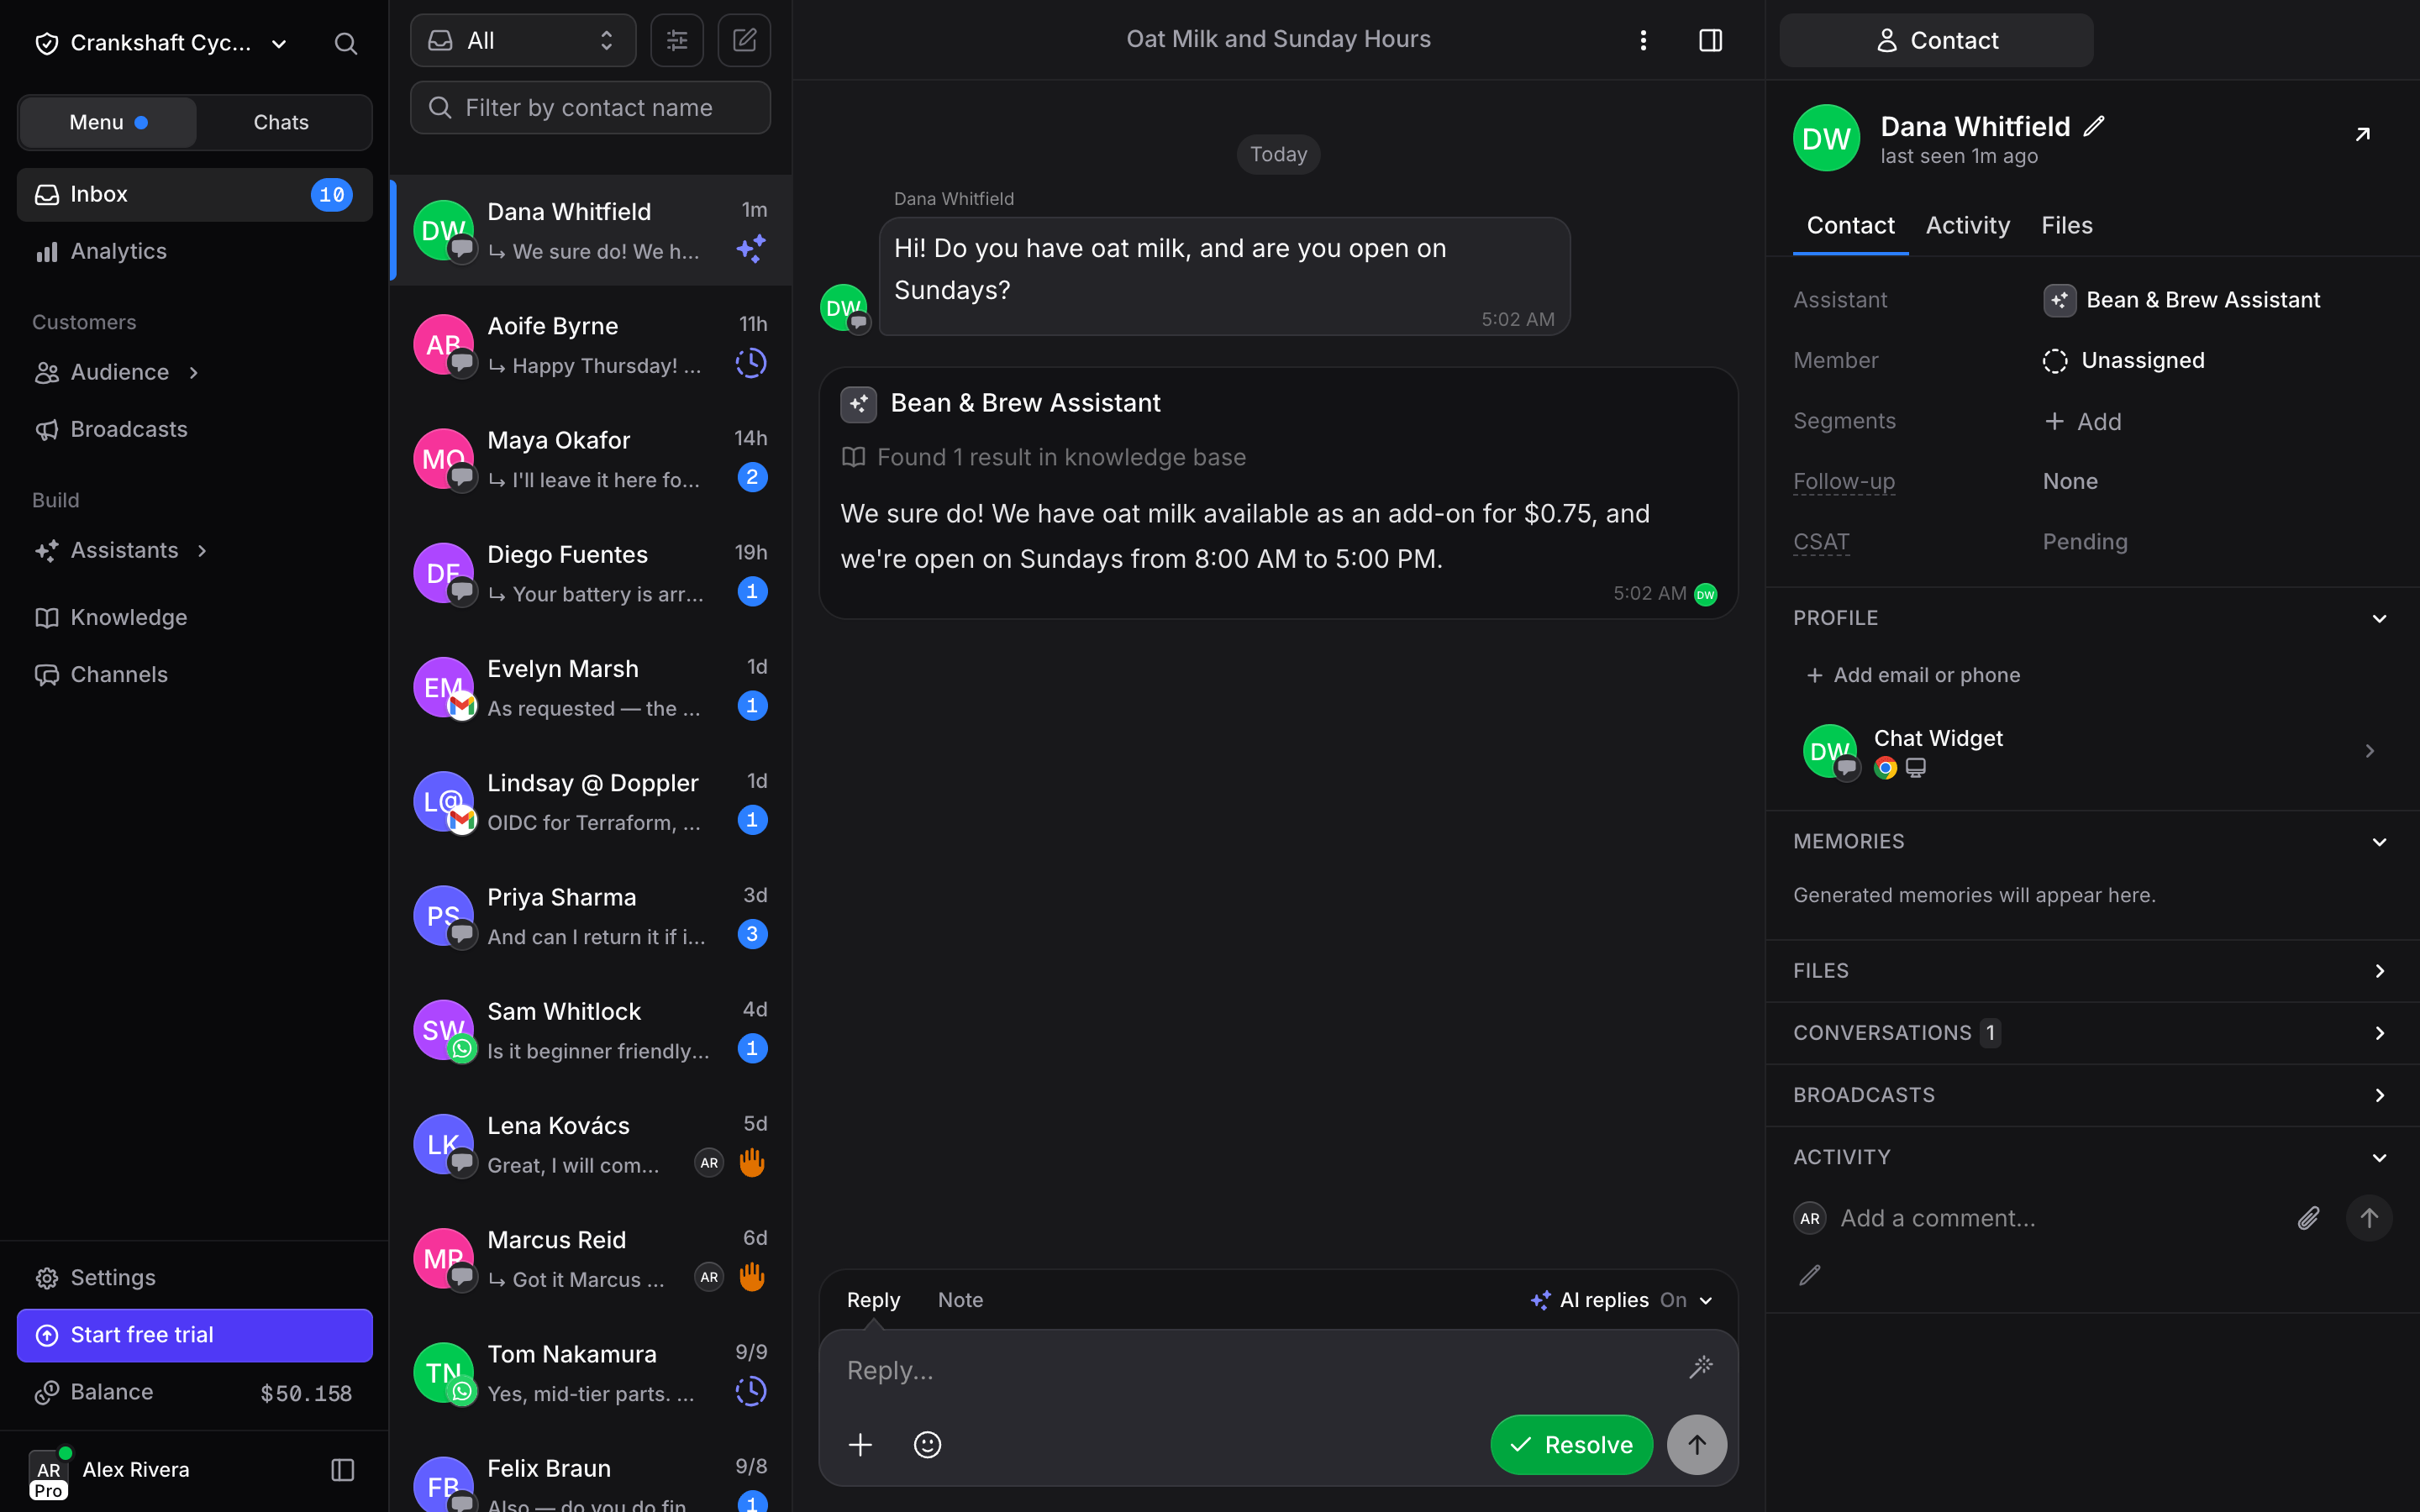
- Every conversation across all channels in one list
- Channel indicators showing where each message came from (WhatsApp, Instagram, web widget, etc.)
- Conversation details with the full chat history when you click on any conversation
- Contact panel on the right showing customer information, memories, and conversation history
What to monitor
- Unresolved conversations: Messages the assistant may need help with
- Waiting for Human: Conversations the assistant transferred to your team
- CSAT scores: If Auto CSAT is enabled, satisfaction ratings appear alongside resolved conversations
What You Have Built
In just a few minutes, you have:
This is the foundation. Every assistant you build in Invent starts with these same building blocks.
Next Steps
Now that you have the fundamentals, explore the features that make your assistant truly powerful:Actions
The next most powerful step. Give your assistant the ability to book appointments, send emails, process payments, and more. Actions transform your assistant from a chatbot into an agent that actually gets things done
Instructions vs Knowledge
Learn exactly what information goes in Instructions vs Knowledge, and why getting it right matters for performance and cost
Writing Effective Instructions
Go deeper on crafting instructions with templates, real examples, and the 11 building blocks of great instructions
Build a Booking Assistant
Ready for a full build? Walk through a complete yoga studio assistant with Google Sheets, Stripe, Calendar, Gmail, and WhatsApp